Hawaii Hiking Safety Guide: Trails, Gear & Rules for Safe Hikes

Hawaii’s trails are among the most beautiful on earth, and also among the most unforgiving to the unprepared. Flash floods rise in minutes, volcanic rock crumbles underfoot, tropical nightfall arrives fast, and cell service vanishes in the valleys. If you want one complete Hawaii hiking safety guide, built on the official guidance of the DLNR Nā Ala Hele Trail and Access Program and the Honolulu Fire Department, this is it.
This guide covers how to choose the right trail, what to pack, the rules that keep you and the islands safe, and what to do when things go wrong. Read it before you lace up your boots.
Hawaii Hiking Safety at a Glance
| Golden rule | Stay on signed, managed trails; most accidents happen off-trail |
| Before you go | Tell someone your trail name, location, and expected return time |
| Water | Carry 2 to 3 liters per person; do not drink stream water |
| Weather | Check the forecast; never hike stream valleys when rain threatens |
| Turnaround time | Set it before you start and stick to it; nightfall comes fast in the tropics |
| Don’t | Climb waterfalls, follow narrow ridgelines off-trail, or trust crumbly rock |
| Phone | Bring fully charged, but expect no service in valleys |
| Culture | Respect wao akua (realm of the gods); stay out of kapu areas |
Choose the Right Trail for Your Level
The biggest hiking mistake in Hawaii is picking a trail by its photos instead of its difficulty. Use the official Nā Ala Hele trail information through the Outerspatial app or the Hawaiʻi Trails portal, which show managed, legal trails with descriptions you can match to your fitness and experience. Read the full description, including distance, elevation gain, and hazards, before you commit. A trail described as strenuous in Hawaii means it: heat, humidity, mud, and exposure multiply the effort.
Be honest about your capabilities. If you are visiting from sea level, altitude and humidity will slow you down. If you have bad knees, the endless stairs of ridgeline trails will punish them. There is no shame in choosing the easier trail; the views from Oahu’s North Shore lookouts and the volcano park’s short walks are spectacular, and you will enjoy them far more if you are not suffering. Save the epic for a return trip when you know what Hawaiian trails demand.
Before you go, check recent trail conditions, not just the official description. Trails change: winter storms wash out sections, closures appear with little notice, and a path that was easy last year can be a muddy scramble today. The Outerspatial app and recent hiker reports are your best sources for current conditions. If a trail has recent reports of closures, missing signage, or dangerous washouts, believe them and pick another hike.
Before You Go: The Non-Negotiable Checklist
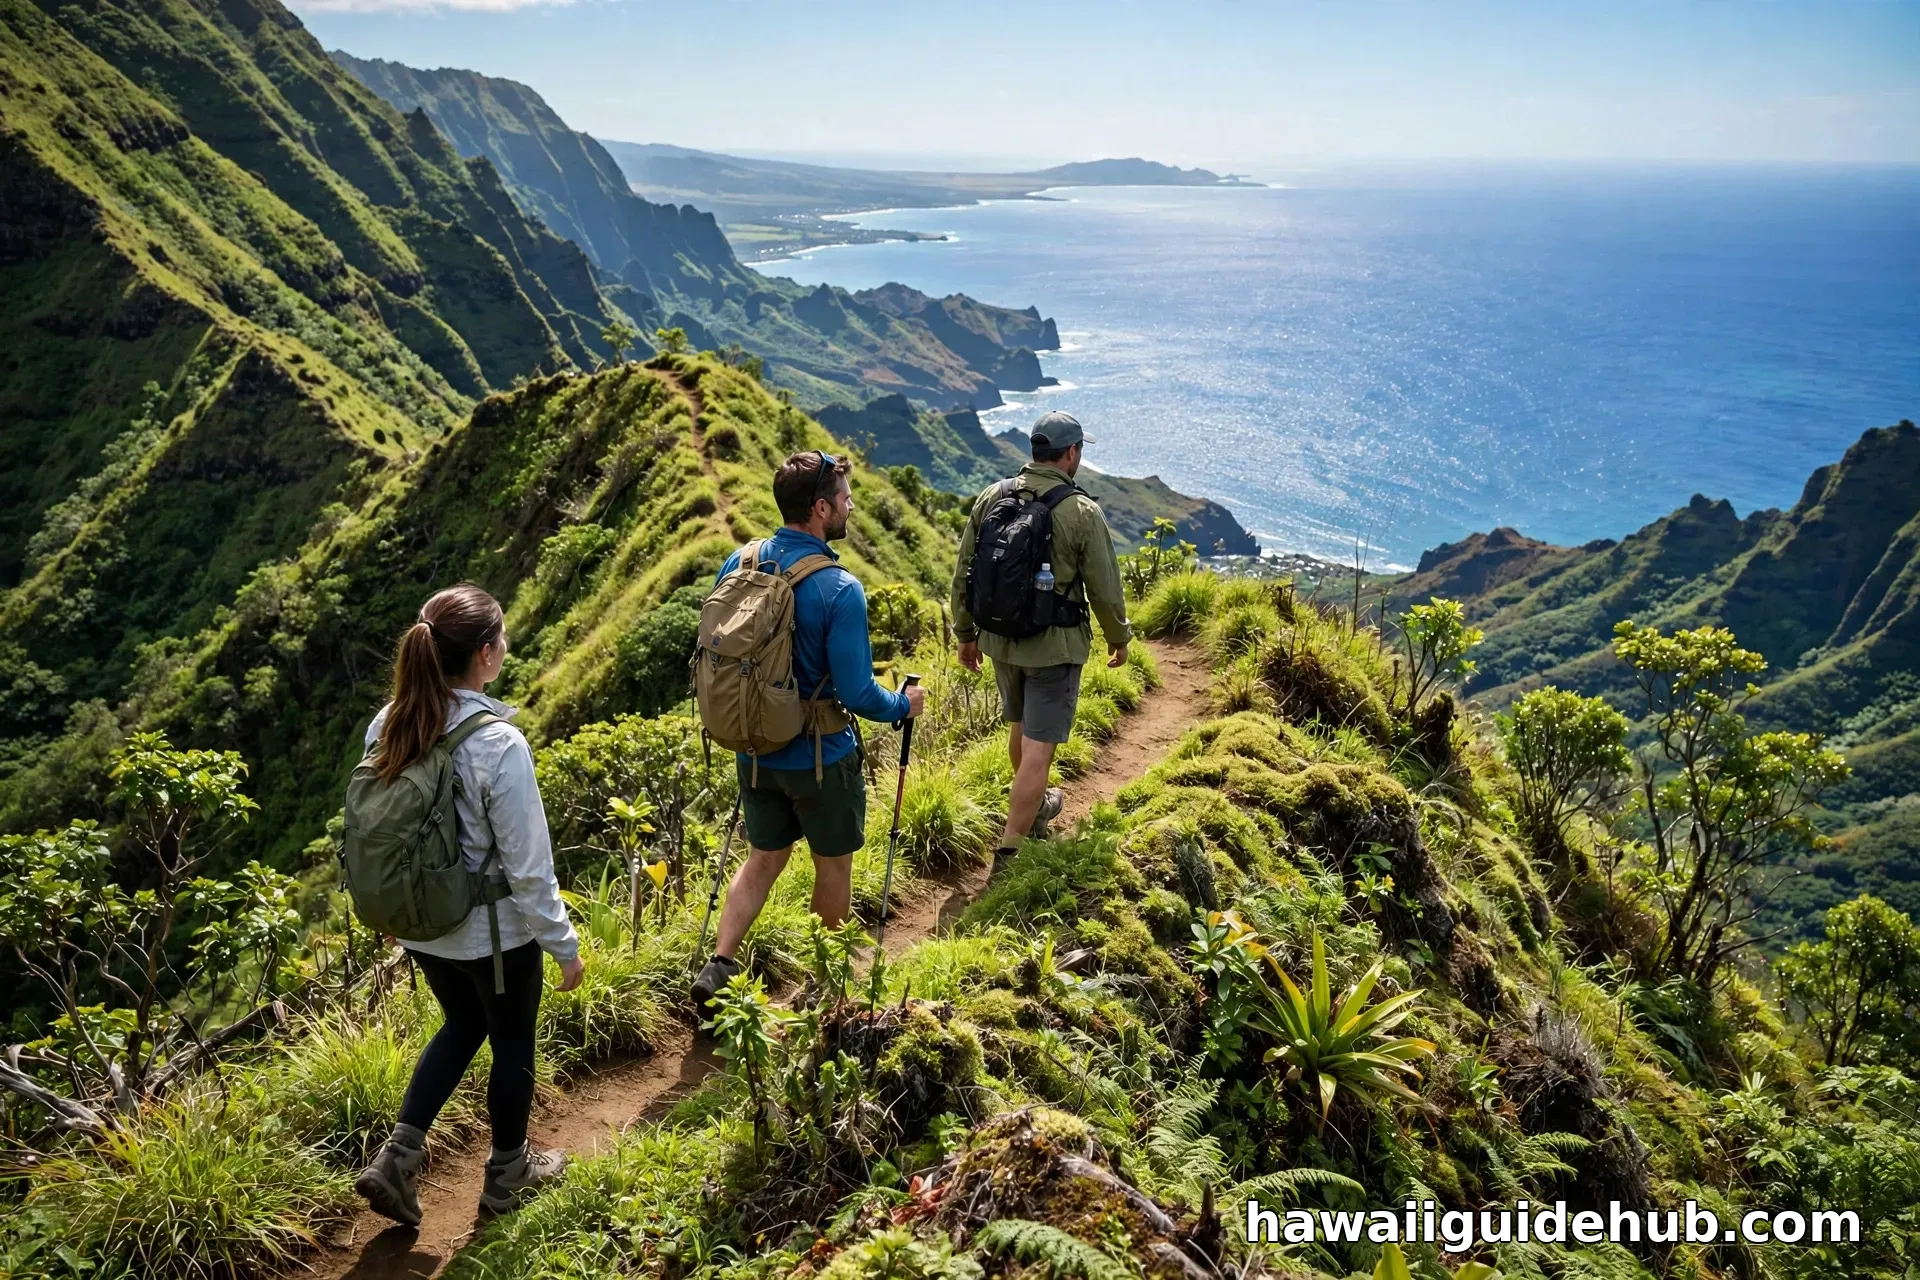
Every safe hike in Hawaii starts the night before. Tell someone your exact plan: the trail name, where you are parking, and when you expect to return, with instructions to call for help if you do not check in. This single habit is the difference between a rescue that finds you and one that searches blindly. Check the weather forecast for the mountains, not just your beach town, and if storms are forecast, pick another day or a trail in a drier area.
Pack like the trailhead has no store, because it does not. The DLNR recommends a small pack with two to three liters of water per person, energy snacks, a fully charged cell phone, basic first aid supplies, sun protection, rain gear, and a plastic garbage bag that doubles as emergency rain gear or rubbish collection. Wear sturdy shoes with good traction; hiking boots with ankle support are ideal for muddy trails and sharp lava rock. Start early. Hawaii does not observe daylight saving time, and tropical nightfall arrives quickly and with little twilight; a late start is one of the most common ways hikers get caught in the dark.
On the Trail: Rules That Prevent Rescues
Stay on signed and managed trails. Always. The Honolulu Fire Department is blunt: most accidents happen when hikers leave the established trail and disregard warning signs. Hawaiian forests are extraordinarily dense, and it is easy to become disoriented just steps off the path. Thick overgrowth masks dangerously steep dropoffs, and thin, sharp lava rock can crack beneath your weight above deep holes or lava tubes. Staying on the trail greatly reduces your chances of a serious fall or getting lost.
Do not hike alone. Hikers separated from partners are more likely to make wrong turns or lose the trail, so stay together, regroup at junctions, and monitor everyone’s condition. Dehydration, sunstroke, hypothermia, and fatigue can hit even experienced hikers in Hawaii’s climate. Watch the time relentlessly: set a turnaround time before you start and honor it, allowing plenty of margin to return before dark. If you are caught by darkness, stay put unless you know the trail intimately and have a flashlight.
Read and obey every posted warning sign. They mark real hazards: unstable cliffs, falling rock zones, flash flood areas, and culturally sensitive kapu areas that are closed for good reason. If the trail looks confusing, go back and start over rather than pushing forward on instinct. And keep your music in headphones; playing loud music on trails is prohibited in Hawaii, and you need your ears open for warning sounds like rising water or falling rock.


Waterfalls, Ridgelines, and Rock: Know the Deadly Trio
Three temptations kill hikers in Hawaii. First, waterfalls: never climb them, never swim in the pools beneath them during or after rain, and never spend time under one. Rockfalls occur without warning, and water levels can surge in minutes from rain you cannot see. Second, narrow ridgelines and gulches off the trail: following them for a better view or a shortcut places you on crumbling edges above sheer drops. Third, the rock itself: Hawaiian volcanic rock is crumbly and porous, and there have been fatal accidents from rock giving way under climbers. Do not trust it with your weight.
Stream crossings deserve their own warning. When hiking into valleys or crossing streams, watch the sky over the mountains, not just above you. Rain on the ridges can suddenly raise the water level where you stand. Use extreme caution crossing any swollen stream; rushing water is far more powerful than it looks. It is always better to wait for the water to subside or find another route than to risk a crossing.
Water, Heat, and Health on the Trail
Drink before you are thirsty and eat before you are hungry. Dehydration sneaks up in humid heat because sweat does not cool you efficiently, and by the time you feel dizzy or get a headache the problem is already advanced. Carry more water than you think you need, and ration it against the return trip, not just the way out. Never drink from streams: Hawaii’s fresh water can carry leptospirosis, a bacterial infection that enters through cuts or mucous membranes. If you have open wounds, keep them covered and stay out of stream water entirely.
Sun protection matters even on cloudy days; tropical UV burns fast, especially on exposed ridgelines. Wear a hat, use reef-safe sunscreen, and cover up. Watch your hiking partners for signs of heat illness: headache, nausea, confusion, or stopped sweating are emergencies. Get the person to shade, cool them with water, and call for help. Hypothermia is also real at elevation and in prolonged rain; that rain gear in your pack is not optional on high trails.
Hike Pono: Respect the Land and Culture
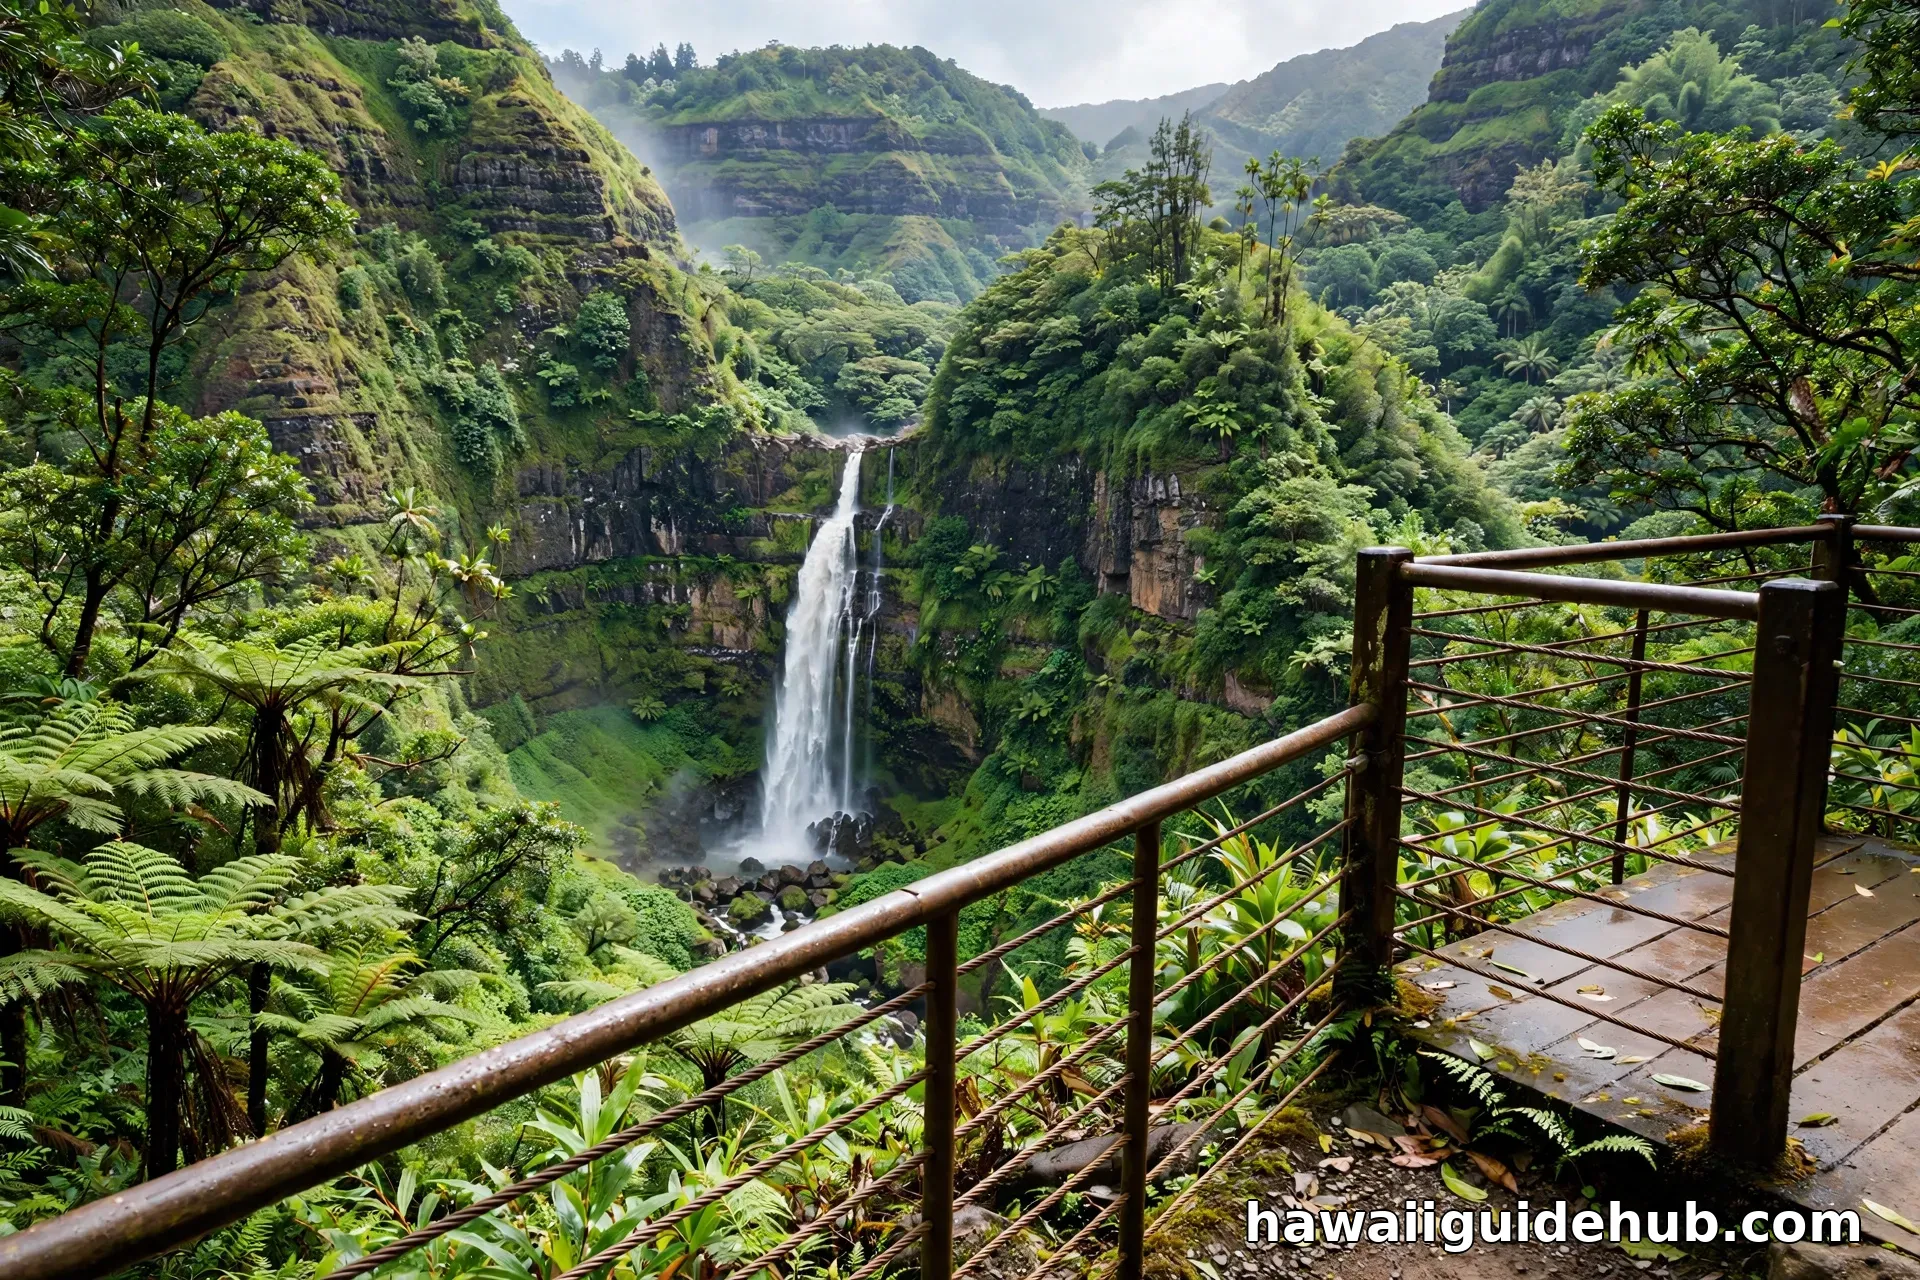
Hawaii’s forests are cultural spaces, not just scenery. Native Hawaiians consider the mauka areas the wao akua, the realm of the gods, and some trails cross wahi pana, places of special significance. Stay on the trail, leave what you find, and never enter kapu (forbidden) areas. Clean your boots and gear before and after hiking to avoid spreading Rapid ʻŌhiʻa Death and invasive seeds; use the boot brush stations where provided.
Be a good neighbor at trailheads. Most trails lack dedicated parking, so never block driveways or mailboxes, keep noise down, and do not wash muddy boots with residents’ hoses. Keep pets leashed at all times, for their safety, wildlife, and other hikers. Pack out everything you pack in, including food scraps and tissues. The DLNR’s Hike Pono message is simple: the trails stay open and beautiful only if every hiker treats them with care.
What to Do in an Emergency
If someone is injured, do not move them unless they are in immediate danger from falling rock, rising water, or an unstable slope. Keep them warm, treat bleeding with direct pressure, and call 911; give the trail name, your last known landmark, and your phone’s GPS coordinates if you have them. If you are lost, stop moving. Staying put makes you findable; wandering makes you invisible. Blow a whistle in bursts of three, the international distress signal, and conserve your phone battery for emergency calls and texts.
If flash flooding threatens, get to high ground immediately and do not try to cross rising water. If darkness falls and you are unsure of the route, stay where you are until morning unless staying put is more dangerous than moving. Mark your position if you can, stay warm and dry, and wait for daylight or rescue. The mountains are patient; your job is to be patient too.
Video: Travel Pono in Hawaii
Hawaiian Airlines’ Travel Pono video shares expert advice on hiking and ocean safety in Hawaii.
Frequently Asked Questions
How much water should I carry hiking in Hawaii?
Two to three liters per person for a day hike, more for long or strenuous routes. Do not drink from streams, which can carry leptospirosis. Drink before you are thirsty and save water for the return trip.
Is it safe to hike alone in Hawaii?
The DLNR advises against it. Solo hikers who get lost or injured have no one to go for help, and separated partners often make wrong turns. Hike with at least one other person and stay together at junctions.
What is the most common cause of hiking rescues in Hawaii?
Leaving the established trail. Most accidents happen when hikers go off-trail onto ridgelines, gulches, or cliffs, or disregard warning signs. Staying on signed, managed trails greatly reduces your risk.
Can I swim in waterfall pools in Hawaii?
Not during or after rain, and never under the falls. Rockfalls occur without warning and water levels can surge in minutes. Even in dry conditions, check for warning signs and never dive into pools of unknown depth.
What should I do if I get lost hiking in Hawaii?
Stop moving and stay put. Wandering makes you harder to find. Conserve your phone battery, signal with a whistle in bursts of three, and wait for daylight or rescue if it gets dark.
What shoes are best for hiking in Hawaii?
Sturdy hiking shoes or boots with aggressive tread and ankle support. Hawaiian trails are muddy, rooty, and rocky, often all three in one hike, and the Honolulu Fire Department specifically warns that proper footwear prevents slips and injuries. Never hike in slippers or sandals; they are among the most common mistakes firefighters see on rescue calls.
Do I need a permit to hike in Hawaii?
Most Nā Ala Hele trails do not require permits for day hiking, but some restricted areas and commercial activities do. Check the official trail information on the Outerspatial app or Hawaiʻi Trails portal before you go, and always respect posted closures.
Safe hiking in Hawaii is a skill, not a gamble. Choose a trail that matches your fitness, tell someone your plan, pack water and rain gear, start early, set a turnaround time, and stay on the trail no matter how tempting the shortcut looks. Do that, and the islands’ trails will give you the best days of your trip, from Big Island volcano walks to Oahu’s winter-season viewpoints. The mountains reward the prepared and punish the careless; make sure you are the former.