Hawaiian Bibingka Recipe

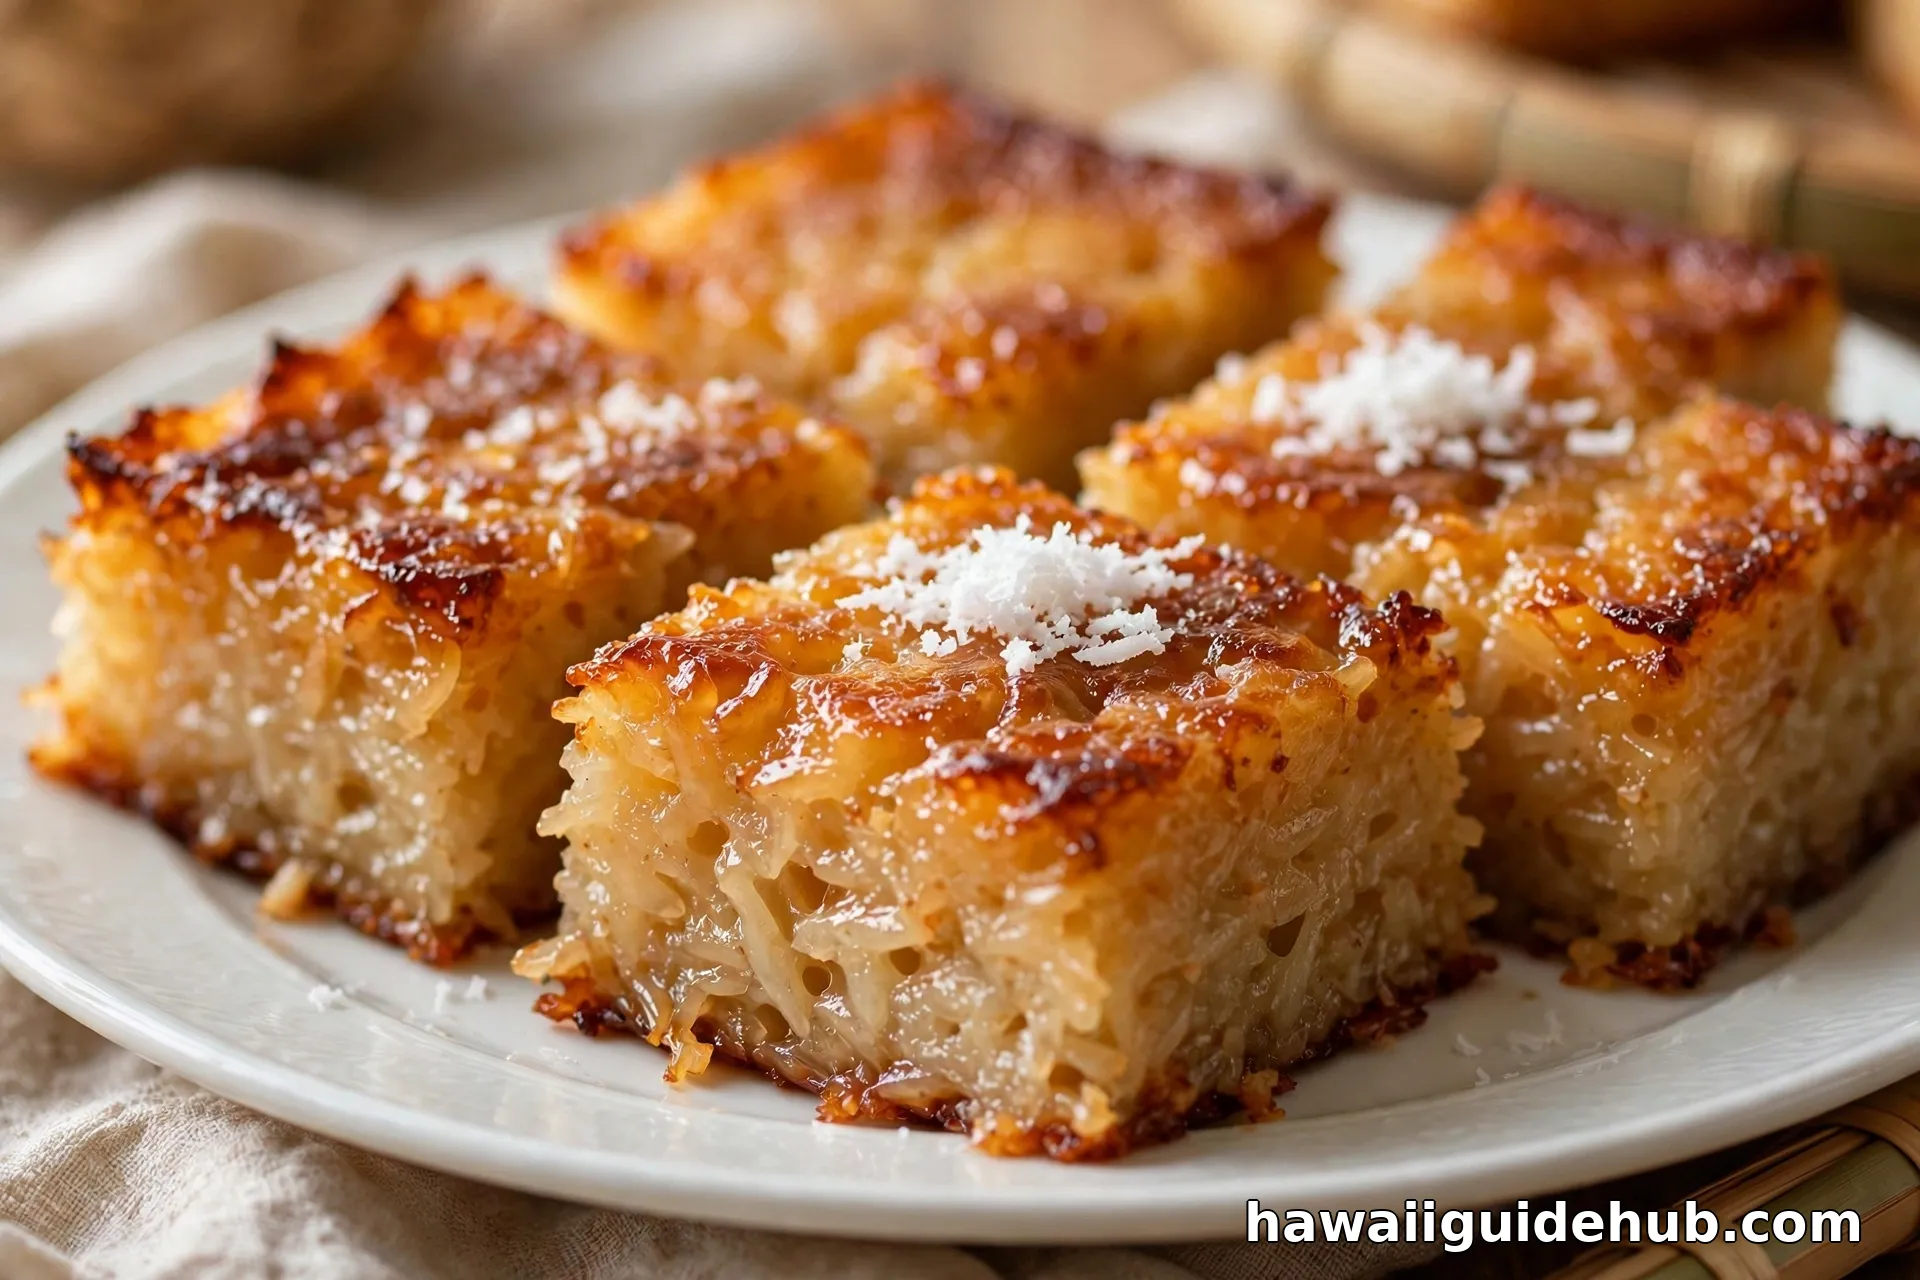
Walk into a Filipino bakery in Hawaiʻi and look in the display case: beside the pan de sal and the ensaymada, you will almost always see a tray of golden squares with caramelized tops and a chewy, glistening crumb. That is bibingka, the coconut rice cake that traveled from the Philippines to Hawaiʻi with plantation workers a century ago and never left. It is sweet but not too sweet, rich with coconut and butter, and it has the springy chew that makes you reach for a second piece before you have finished the first.
This is the complete guide to bibingka in Hawaii. It covers what bibingka is and where it came from, how the Hawaiian version differs from the Philippine original, the authentic ingredients and method, a full step-by-step recipe, variations and toppings, where visitors encounter it, and answers to the questions bakers ask most. Everything about Hawaiian bibingka lives here on this one page.
Bibingka at a Glance
| The cake | A baked coconut rice cake, chewy and golden |
| The roots | Philippines; brought to Hawaiʻi by Filipino plantation workers starting in 1906 |
| Hawaiian style | Baked in a sheet pan, cut into bars, mochi-like chew |
| Philippine style | Baked in clay pots lined with banana leaves, often topped with salted egg |
| The texture | Chewy, moist, slightly custardy in the center |
| The flavor | Coconut, butter, and caramelized sugar |
| The bake | 350°F for about 60 minutes in a 9×13 pan |
| Eat it | Warm or at room temperature, with coffee |
| Find it | Filipino bakeries, local bakeries, potlucks, and fundraisers statewide |
What Bibingka Is
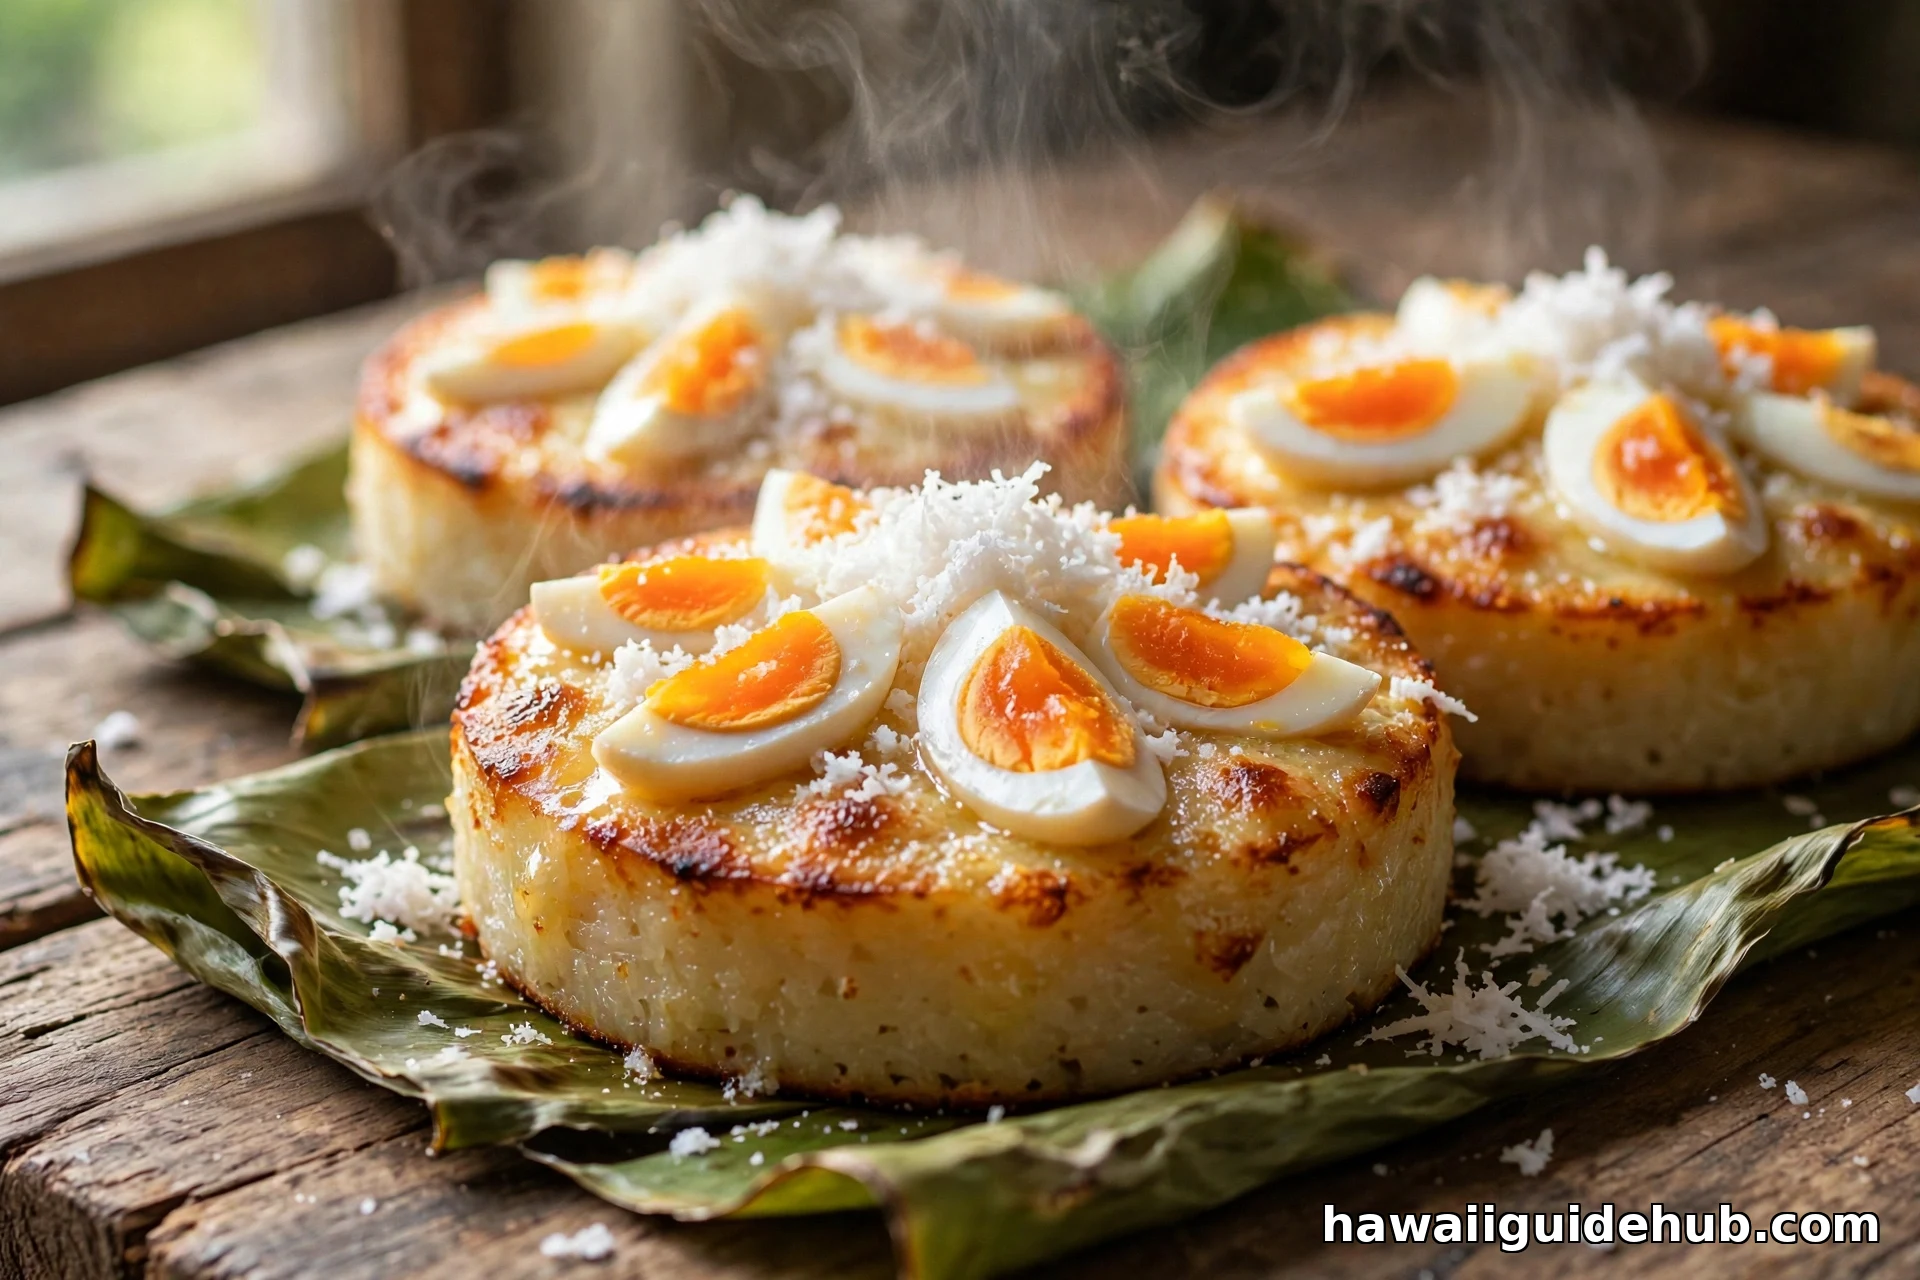
Bibingka belongs to the Filipino family of rice cakes called kakanin, sweets made from rice or glutinous rice flour, coconut milk, and sugar. In the Philippines, the classic bibingka is baked in round clay pots lined with banana leaves, traditionally over charcoal, and topped with salted duck egg and grated coconut or cheese. It is strongly associated with the Christmas season, when vendors sell it outside churches after evening Mass. The banana leaves perfume the cake as it bakes, and the salted egg adds a savory contrast to the sweet, chewy base.
The Hawaiian version kept the soul of the dish and simplified everything else. Instead of individual clay pots, it is baked in a rectangular pan and cut into bars. Instead of salted egg, most Hawaiian recipes skip the topping entirely or add a sprinkle of grated coconut. And where Philippine recipes often use plain rice flour, Hawaiian bibingka frequently uses mochiko, sweet glutinous rice flour, which gives it an extra-chewy, mochi-like bite. The result is something between a cake and a confection: golden and caramelized on top, tender and slightly custardy in the middle. If you know malasadas, think of bibingka as the Filipino community’s answer to a beloved local sweet.
From the Philippines to Plantation Hawaiʻi
Filipino immigration to Hawaiʻi began in 1906, when the first sakadas, contracted plantation workers, arrived to work the sugarcane fields. Most came from the Ilocos region of the northern Philippines, and they brought their food traditions with them: pinakbet, dinuguan, empanada, and the rice cakes of home. Bibingka traveled in that stream of recipes, baked in plantation camp kitchens and shared at baptisms, weddings, and town fiestas.
Over the decades, the recipe adapted to what was available. Clay pots gave way to sheet pans, charcoal gave way to home ovens, and the cake absorbed influences from its neighbors, including Hawaiʻi’s love of butter mochi, a very close cousin made from the same mochiko and coconut milk. Today bibingka sits comfortably in the local food landscape: sold at Filipino bakeries on every island, baked for school fundraisers and office potlucks, and eaten by people of every background who may have no idea it started life in Ilocos. Like so many local dishes, it became Hawaiian by being loved in Hawaiʻi.
The Authentic Ingredients
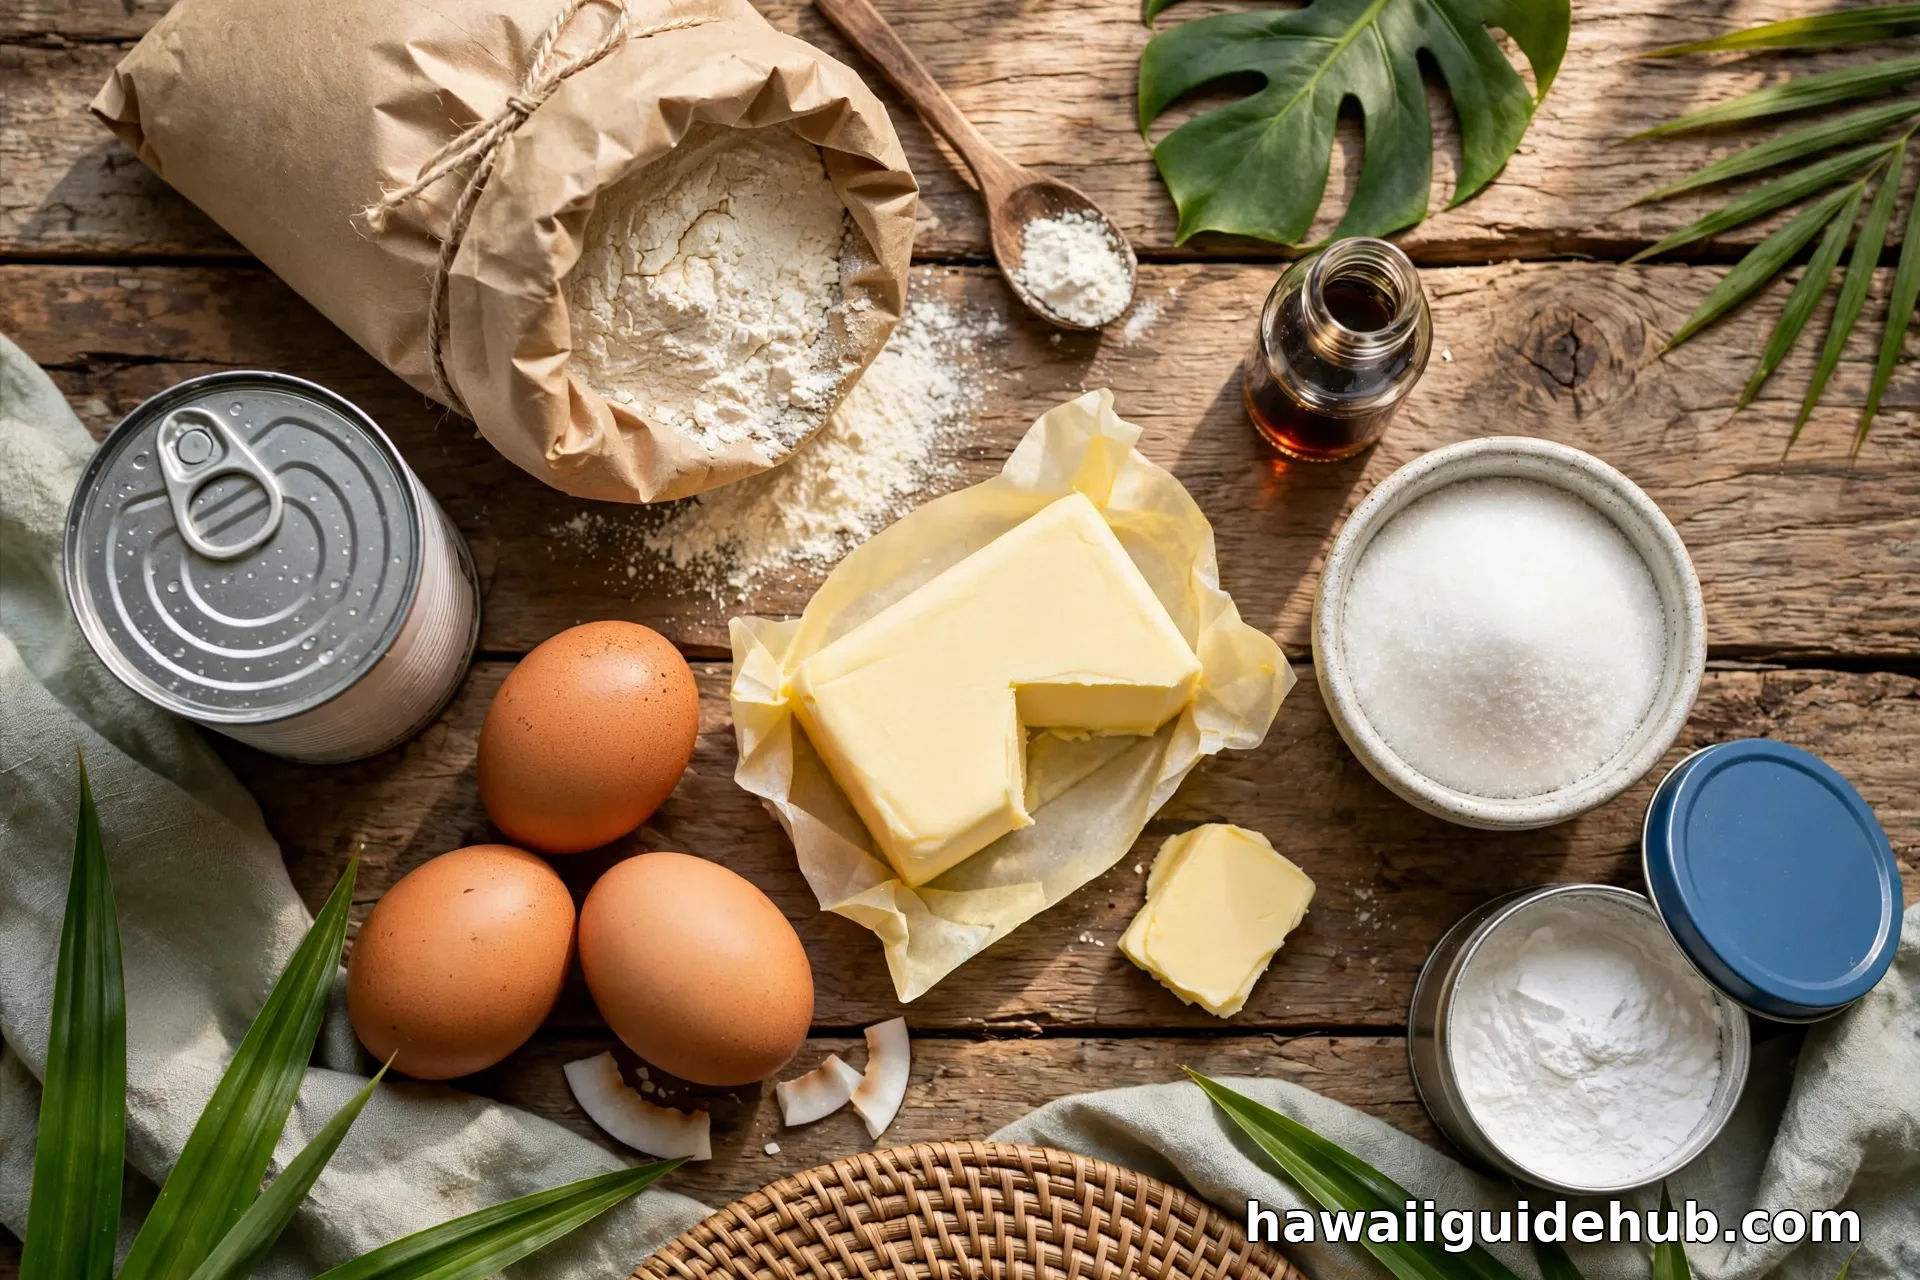
Hawaiian bibingka needs only eight ingredients, and each one does real work. Mochiko, sweet rice flour sold in the familiar blue-and-white box, is the foundation; it is what makes the cake chewy rather than cakey. Full-fat coconut milk provides the richness and the coconut flavor that defines the dish. Sugar sweetens without overwhelming, eggs bind and enrich, and melted butter adds flavor and a tender crumb. Baking powder gives a gentle lift, salt sharpens the sweetness, and vanilla rounds everything out. That is the whole list. There is no wheat flour, no frosting, no filling.
Hawaiian Bibingka Recipe
This recipe makes one 9×13 pan, about 24 bars. It follows the Hawaiian sheet-pan method: one bowl, one pan, one hour in the oven.
Ingredients
- 1 box (16 ounces) mochiko sweet rice flour
- 1 can (13.5 ounces) full-fat coconut milk
- 1 1/2 cups granulated sugar
- 4 large eggs
- 1/2 cup butter, melted and slightly cooled
- 1 tablespoon baking powder
- 1/2 teaspoon salt
- 1 teaspoon vanilla extract
- Butter or cooking spray, for the pan
- Grated coconut, for topping (optional)
Method
- Heat the oven to 350°F. Grease a 9×13-inch baking pan with butter or cooking spray.
- In a large bowl, whisk the eggs and sugar until light and slightly fluffy, about one minute.
- Whisk in the coconut milk, melted butter, salt, and vanilla until smooth.
- Add the mochiko and baking powder. Stir gently until just combined and no dry pockets remain. Do not overmix.
- Pour the batter into the prepared pan and smooth the top. Sprinkle with grated coconut if using.
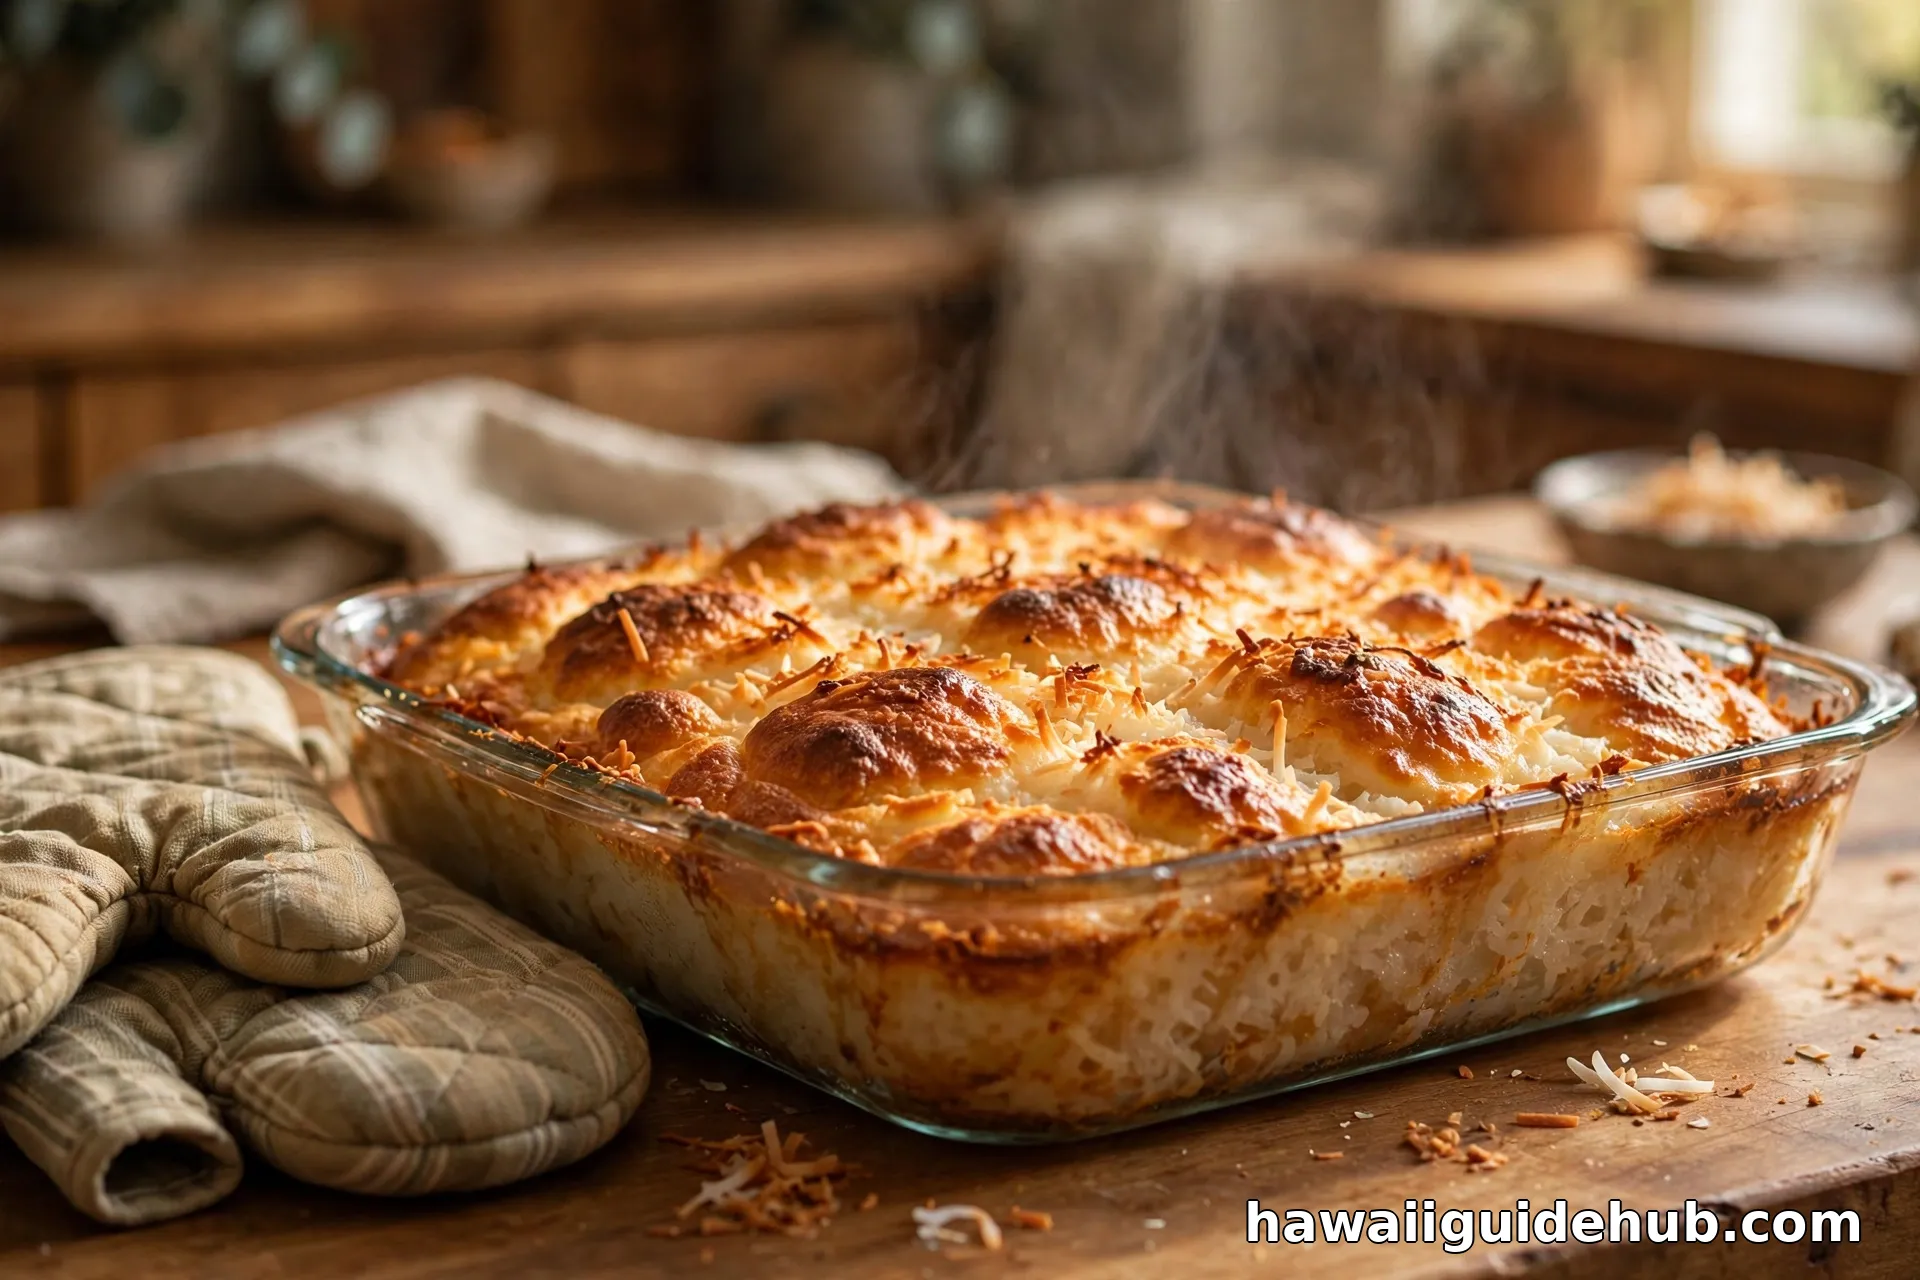
- Bake for 55 to 65 minutes, until the top is deep golden brown and the center no longer looks wet. A toothpick inserted near the center should come out mostly clean; a slight wobble is fine.
- Cool in the pan for at least one hour. The center firms up as it cools and becomes chewier after chilling.
- Cut into bars and serve at room temperature or slightly warm.
Baking Tips for the Perfect Texture
The difference between good bibingka and great bibingka is mostly patience. Do not overmix the batter: stirring too much develops structure that makes the cake tough instead of tender. Do not underbake it: the center should look set, not liquid, when you pull it out, and remember it firms considerably as it cools. And do not cut it hot. A warm bibingka cut too early falls apart; an hour of cooling gives you clean bars with the ideal chewy bite. Refrigerated bibingka keeps its soft texture for days, which is unusual for a baked good and one reason it is such a good potluck dish. Warm leftover bars for ten seconds in the microwave to bring back the fresh-baked softness.
If your top browns before the center sets, tent the pan loosely with foil for the last 15 minutes. If you like a sweeter cake, increase the sugar to two cups; for a less sweet version, drop it to one cup without changing anything else. The recipe is forgiving, which is why it has survived a century of home kitchens.
What It Tastes Like
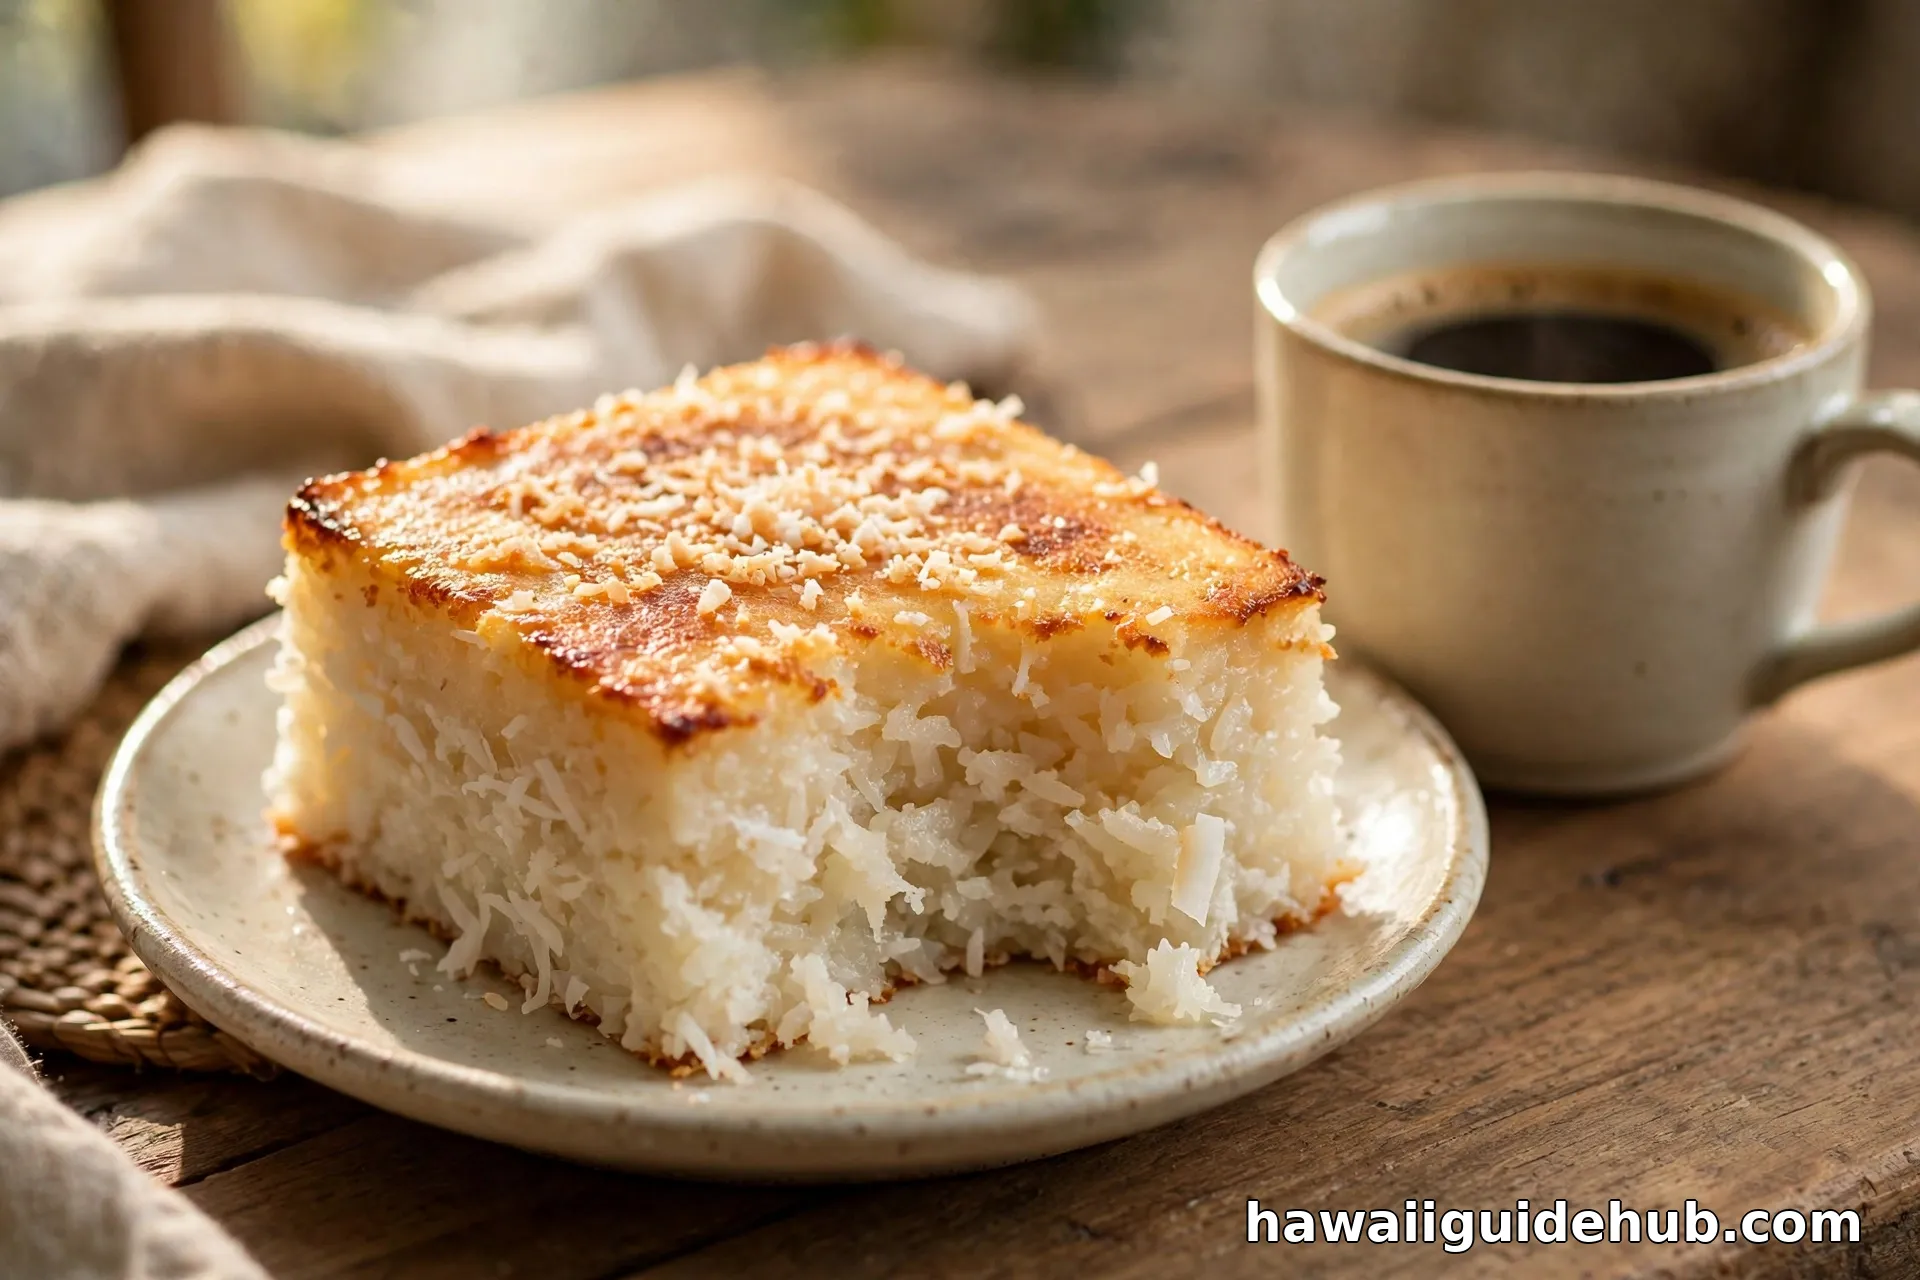
The first bite is all texture: springy, chewy, and moist, with a caramelized top that gives way to a tender, almost custardy center. Then the flavors arrive: coconut first, then butter, then a gentle sweetness that never becomes cloying. It tastes like the best parts of mochi and custard at once, and it pairs beautifully with black coffee or hot chocolate, which cut the richness. Eaten warm, it is comfort itself; eaten cold from the refrigerator the next day, it is somehow even chewier, and many Hawaiʻi families prefer it that way.
Variations and Toppings
Once you have the basic recipe down, bibingka welcomes variation. The traditional Philippine toppings, sliced salted egg and grated cheese, add a savory-salty contrast that works surprisingly well against the sweet base; add them in the last 15 minutes of baking so they set without burning. Grated young coconut folded into the batter makes an extra-moist, extra-coconut version. Some Hawaiian bakers swirl in ube for a purple marbled cake, or add a pandan note with a little extract. A royal bibingka style version, closer to butter mochi, uses evaporated milk alongside the coconut milk for an even richer crumb.
For a dairy-free version, replace the butter with melted coconut oil; the flavor stays true to the dish’s coconut character. For a gluten-free assurance, note that mochiko is naturally gluten free, but check your baking powder label if you are baking for someone with celiac disease. The recipe as written is already wheat free, which makes it an easy potluck contribution for mixed dietary needs.
Where Visitors Encounter Bibingka
You do not need to bake to taste bibingka in Hawaiʻi. Filipino bakeries on every island sell it by the tray, usually cut into bars and wrapped for the road. Local bakeries and okazuya delis often carry it alongside butter mochi and other island sweets. It shows up at school fundraisers, church fiestas, and office potlucks, and at Filipino celebrations it is as expected as cake at a birthday. If you are exploring the island’s food beyond the resort restaurants, asking a bakery counter for bibingka is one of the easiest ways to taste plantation-era Hawaiʻi. For more edible history from the islands’ kitchens, see our guides to lomi-lomi salmon and huli-huli chicken, two more dishes with deep island roots.
Substitutions
Mochiko is the soul of the Hawaiian version, so use it if you can; it is sold in the Asian foods aisle of most supermarkets. If you cannot find it, regular rice flour works but produces a slightly less chewy, more cake-like result. Do not substitute wheat flour: the cake will lose its signature chew entirely. Full-fat coconut milk matters more than the brand; light coconut milk makes a drier, less rich cake. If you are out of vanilla, the cake is still excellent without it. And if you want the full Philippine experience, line the pan with banana leaves before pouring in the batter: they perfume the cake as it bakes and make the bars easy to lift out.
Video: Royal Bibingka, the Butter Mochi Cousin
A demonstration of royal bibingka, the Ilocano version closest to Hawaiian butter mochi, made with glutinous rice flour and coconut milk.
Frequently Asked Questions
What is bibingka made of?
Rice flour (often mochiko sweet rice flour in Hawaiʻi), coconut milk, sugar, eggs, butter, baking powder, salt, and vanilla. The Philippine version may add salted egg and cheese on top.
Is bibingka the same as butter mochi?
They are close cousins. Both use mochiko and coconut milk and bake into chewy golden bars. Butter mochi is the Japanese-Hawaiian version; bibingka is the Filipino version, often a little richer and sometimes topped with salted egg or cheese.
Why is my bibingka gooey in the middle?
It was likely underbaked or cut too soon. Bake until the center looks set and a toothpick comes out mostly clean, then cool for a full hour. The center firms up dramatically as it cools and chills.
How long does bibingka keep?
Covered at room temperature for two days, or refrigerated for up to a week. It stays soft even when cold, which is rare for baked goods. Warm slices briefly in the microwave before serving.
Is bibingka gluten free?
The recipe is naturally wheat free since it uses rice flour, but check your baking powder and vanilla labels for gluten-free certification if you are baking for someone with celiac disease.
Can I freeze bibingka?
Yes. Wrap bars tightly and freeze for up to three months. Thaw at room temperature or warm from frozen in the microwave; the chewy texture survives freezing well.
Bibingka is proof that the simplest recipes travel farthest. Rice flour, coconut milk, sugar, and heat: that is all it took to carry a taste of the Philippines across the Pacific, through a century of plantation kitchens, and into the bakeries and potlucks of modern Hawaiʻi. Bake a pan, share it warm, and you are keeping that journey going.