Poi Recipe: How to Make Hawaii’s Sacred Taro Dish

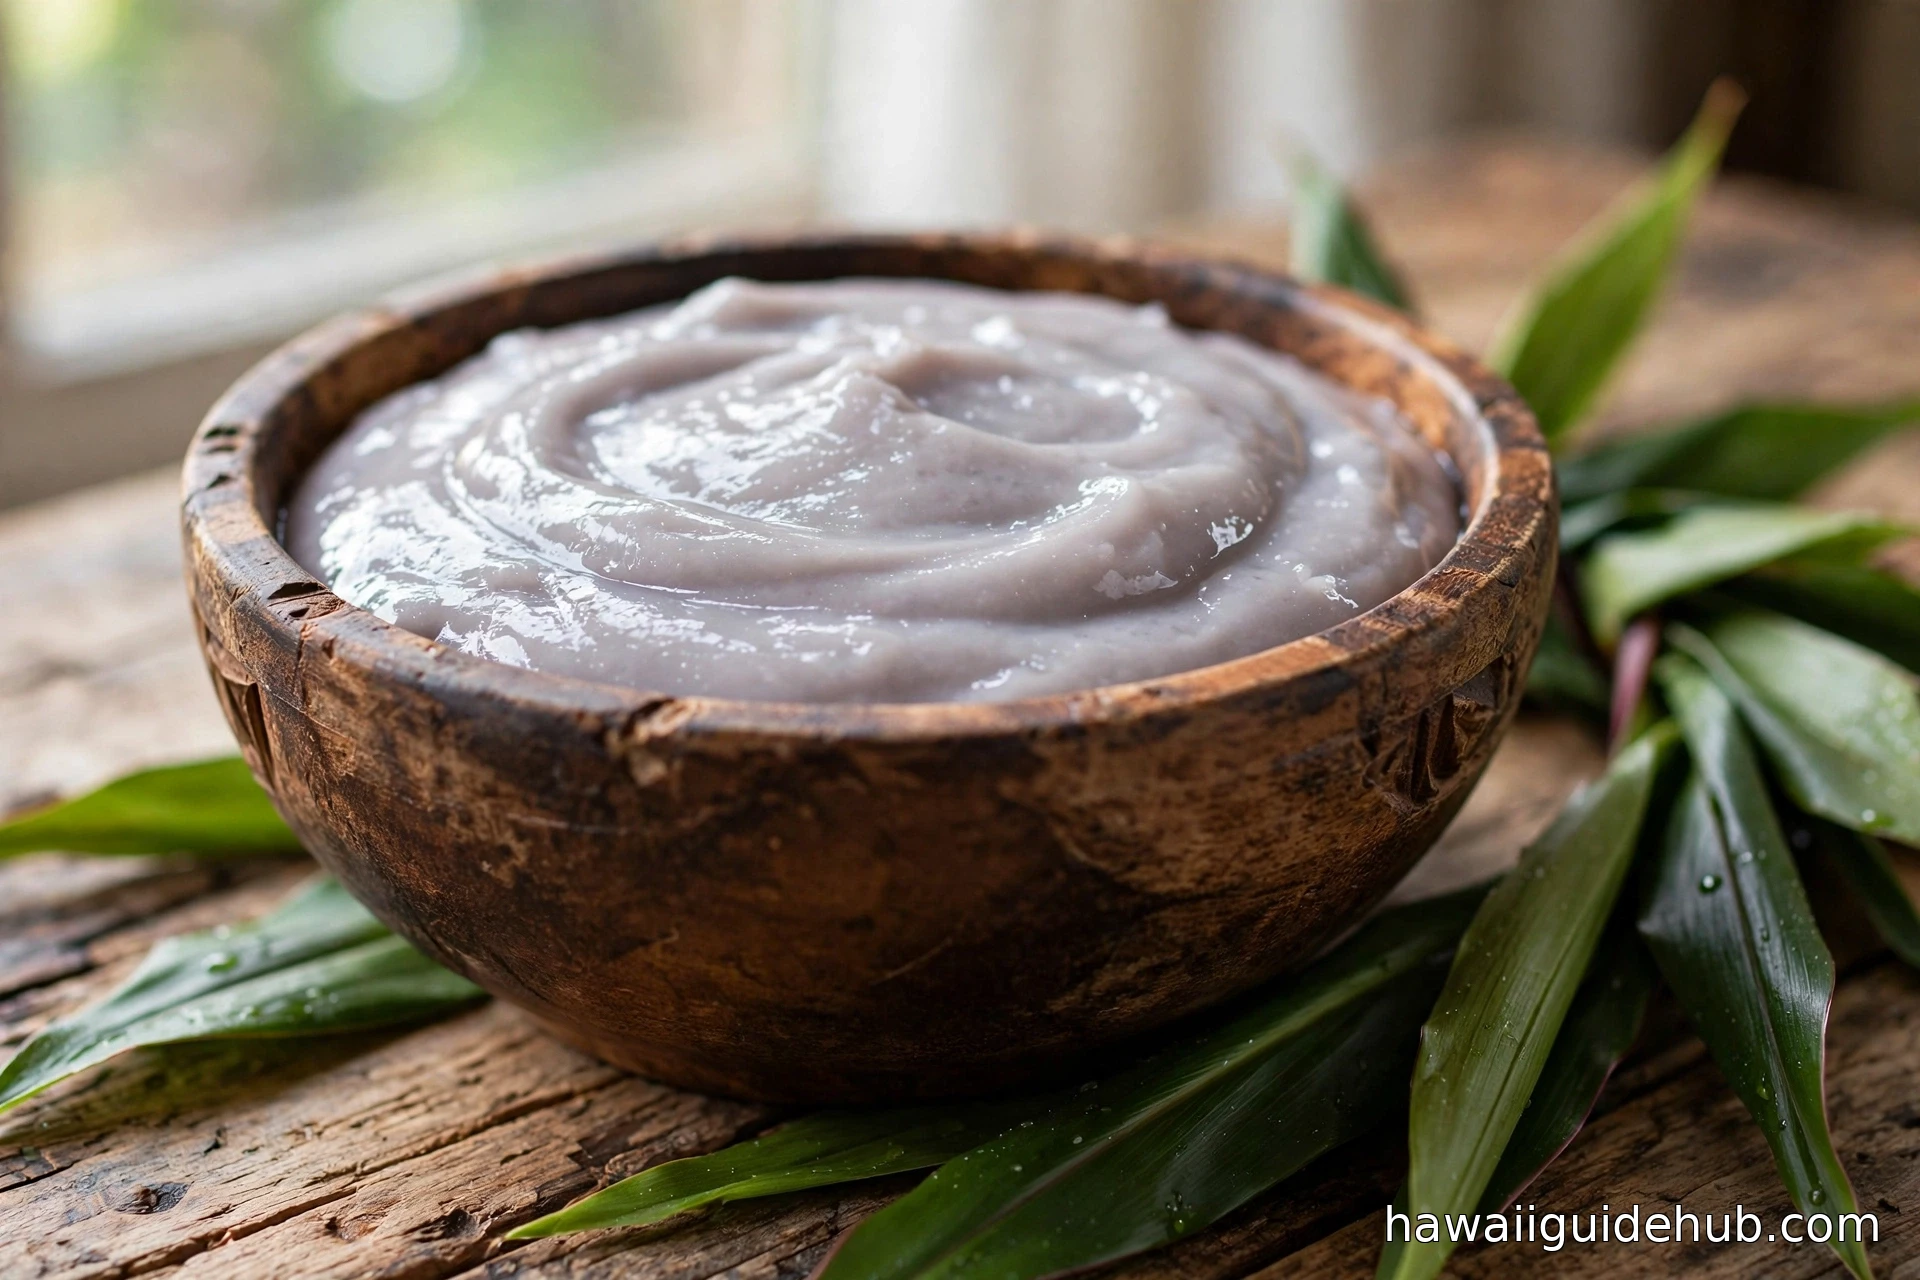
The first time most visitors meet poi, they hesitate. It sits in its bowl at the luau buffet, pale and purple-gray, smooth as pudding, giving nothing away. Someone hands you a plate of kalua pork and nods toward the bowl like it is the most natural thing in the world, and you think: that? That gray paste is the famous Hawaiian food?
Then you dip two fingers in, scoop, and taste. And you understand why this humble paste has fed an island people for a thousand years.
Poi is the soul food of Hawaii, older than the state, older than the kingdom, older than written memory. It is nothing more than cooked taro root pounded with water, yet it carries the weight of ancestry, spirituality, and survival in every spoonful. This guide gives you the full story and a real, tested recipe you can make in a modern kitchen.
What Poi Actually Is
Poi is a thick paste made from the cooked corm (the starchy underground stem) of the taro plant, known in Hawaiian as kalo. The taro is steamed or baked until tender, peeled, then pounded or mashed while water is gradually worked in. The result is a smooth, sticky, slightly elastic paste with a distinctive pale lavender-gray color.
That is the entire ingredient list: taro and water. Traditional poi contains nothing else. Some modern cooks add a pinch of salt, and many locals stir in milk, sugar, or shoyu at the table, but the poi itself is just kalo and water. Its simplicity is the point. This is food reduced to its essence, the way it has been made since Polynesian voyagers first carried taro cuttings across the Pacific in their canoes.
The Sacred Story Behind Poi
To understand poi, you have to understand kalo. In Hawaiian tradition, the taro plant is not merely a crop. According to the Kumulipo, the Hawaiian creation chant, the first kalo plant grew from the body of Haloa, the stillborn son of the sky father Wakea and the earth mother Papa. When the grieving parents buried their child, a taro plant sprouted from the grave. Their second son, also named Haloa, became the ancestor of the Hawaiian people.
This makes kalo the elder brother of the Hawaiian race. Poi, the food made from kalo, is therefore family. That is why poi was treated with such reverence in old Hawaii. When a bowl of poi was uncovered at a meal, it was believed the spirit of Haloa was present, and all quarreling had to stop. Arguments, raised voices, and conflict were forbidden in the presence of poi. The bowl on the table was a relative, and you did not fight in front of family.
This reverence shapes Hawaiian cultural traditions to this day. Poi remains the centerpiece of the luau table and the dish that connects modern Hawaiians to their ancestors. Making it by hand, pounding taro on a wooden board with a stone pestle in the process called kuʻi, is an act of cultural preservation that families and schools across the islands still practice.
What Does Poi Taste Like?
Honest answer: it depends on when you eat it. Fresh poi, made within a day, is mild, delicately sweet, and starchy, with a smooth mouthfeel somewhere between mashed potatoes and pudding. It is subtle by design. Poi was never meant to shout. It is the quiet base note that lets salty, rich foods like kalua pork and lomi lomi salmon shine.
Then fermentation begins. Within a day or two at room temperature, natural bacteria start converting the starches to acids, and poi develops a tangy, yogurt-like sourness. Many locals prefer it this way. Sour poi has character, a pleasant bite that cuts through fatty meats the way pickles cut through a rich sandwich. Like sourdough bread, it keeps far longer than you would expect. Properly made poi can be stored for weeks, growing more sour the whole time, and it remains perfectly edible.
First-timers often do best starting with fresh poi and working their way toward the sour stuff. There is no wrong answer, only preference, and Hawaiians will happily debate it with you.
Ingredients and Tools
What You Need
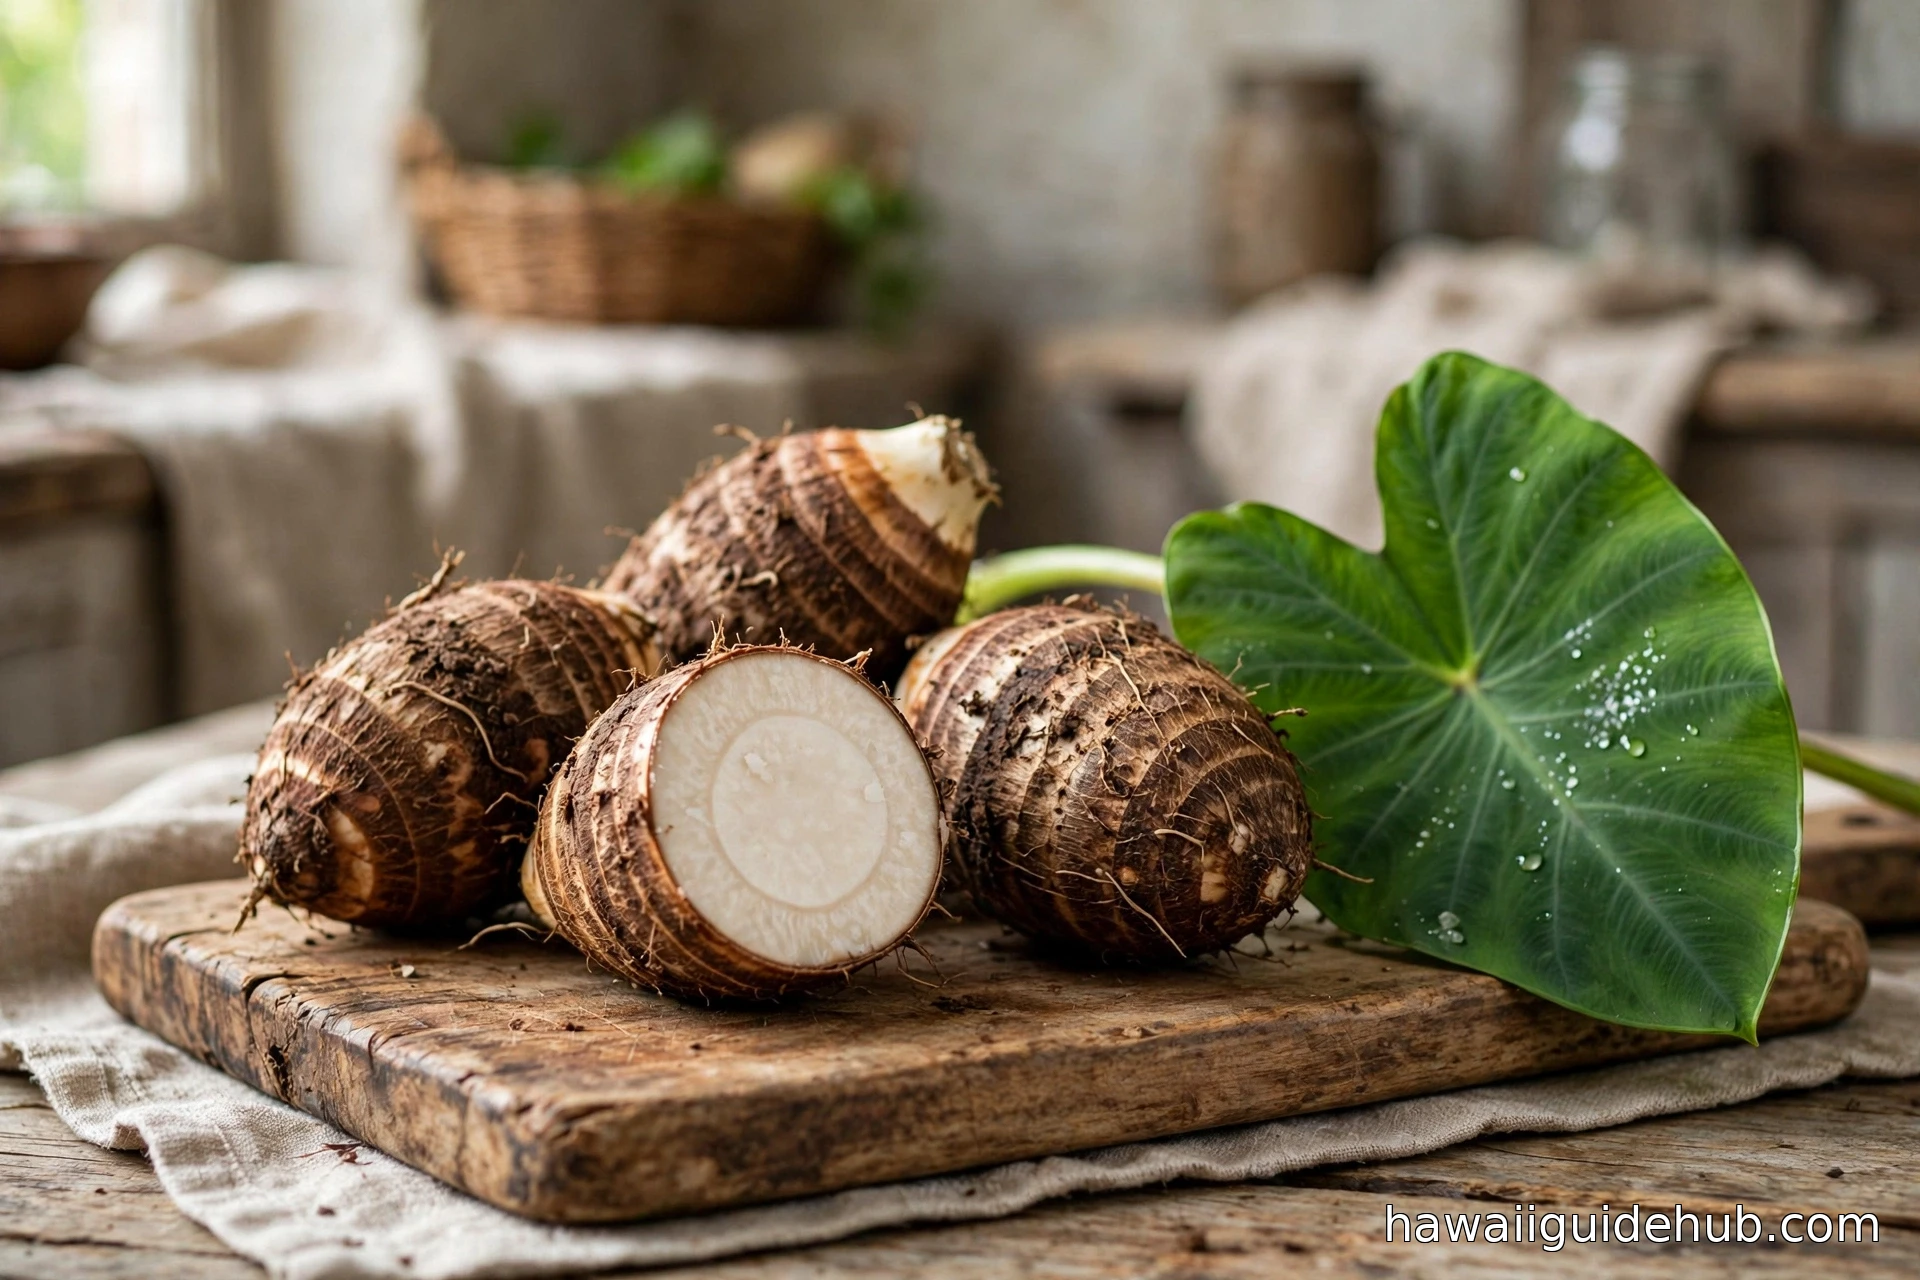
- 2 to 3 pounds fresh taro root (kalo corms), firm and unblemished
- Water, as needed (about 1 to 2 cups)
- Sea salt to taste (optional, and not traditional)
That is genuinely it. Two ingredients if you keep it traditional, three if you salt it. The quality of your poi lives or dies on the taro, so choose corms that feel heavy and solid with no soft spots or mold. Smaller corms tend to be sweeter. If you live outside Hawaii, look for taro at Asian, Pacific Islander, or Latin markets, where it is often sold as taro, dasheen, or malanga (note: true malanga is a different plant; ask for taro specifically).
One safety note that matters: raw taro contains calcium oxalate crystals that irritate skin and mouths. Wear gloves when handling raw taro, and never taste it raw. Thorough cooking neutralizes the irritant completely.
Tools
- Vegetable brush for scrubbing
- Large pot with steamer basket, or a big pot for boiling
- Food processor, sturdy potato masher, or mortar and pestle
- Large mixing bowl
- Clean kitchen towel
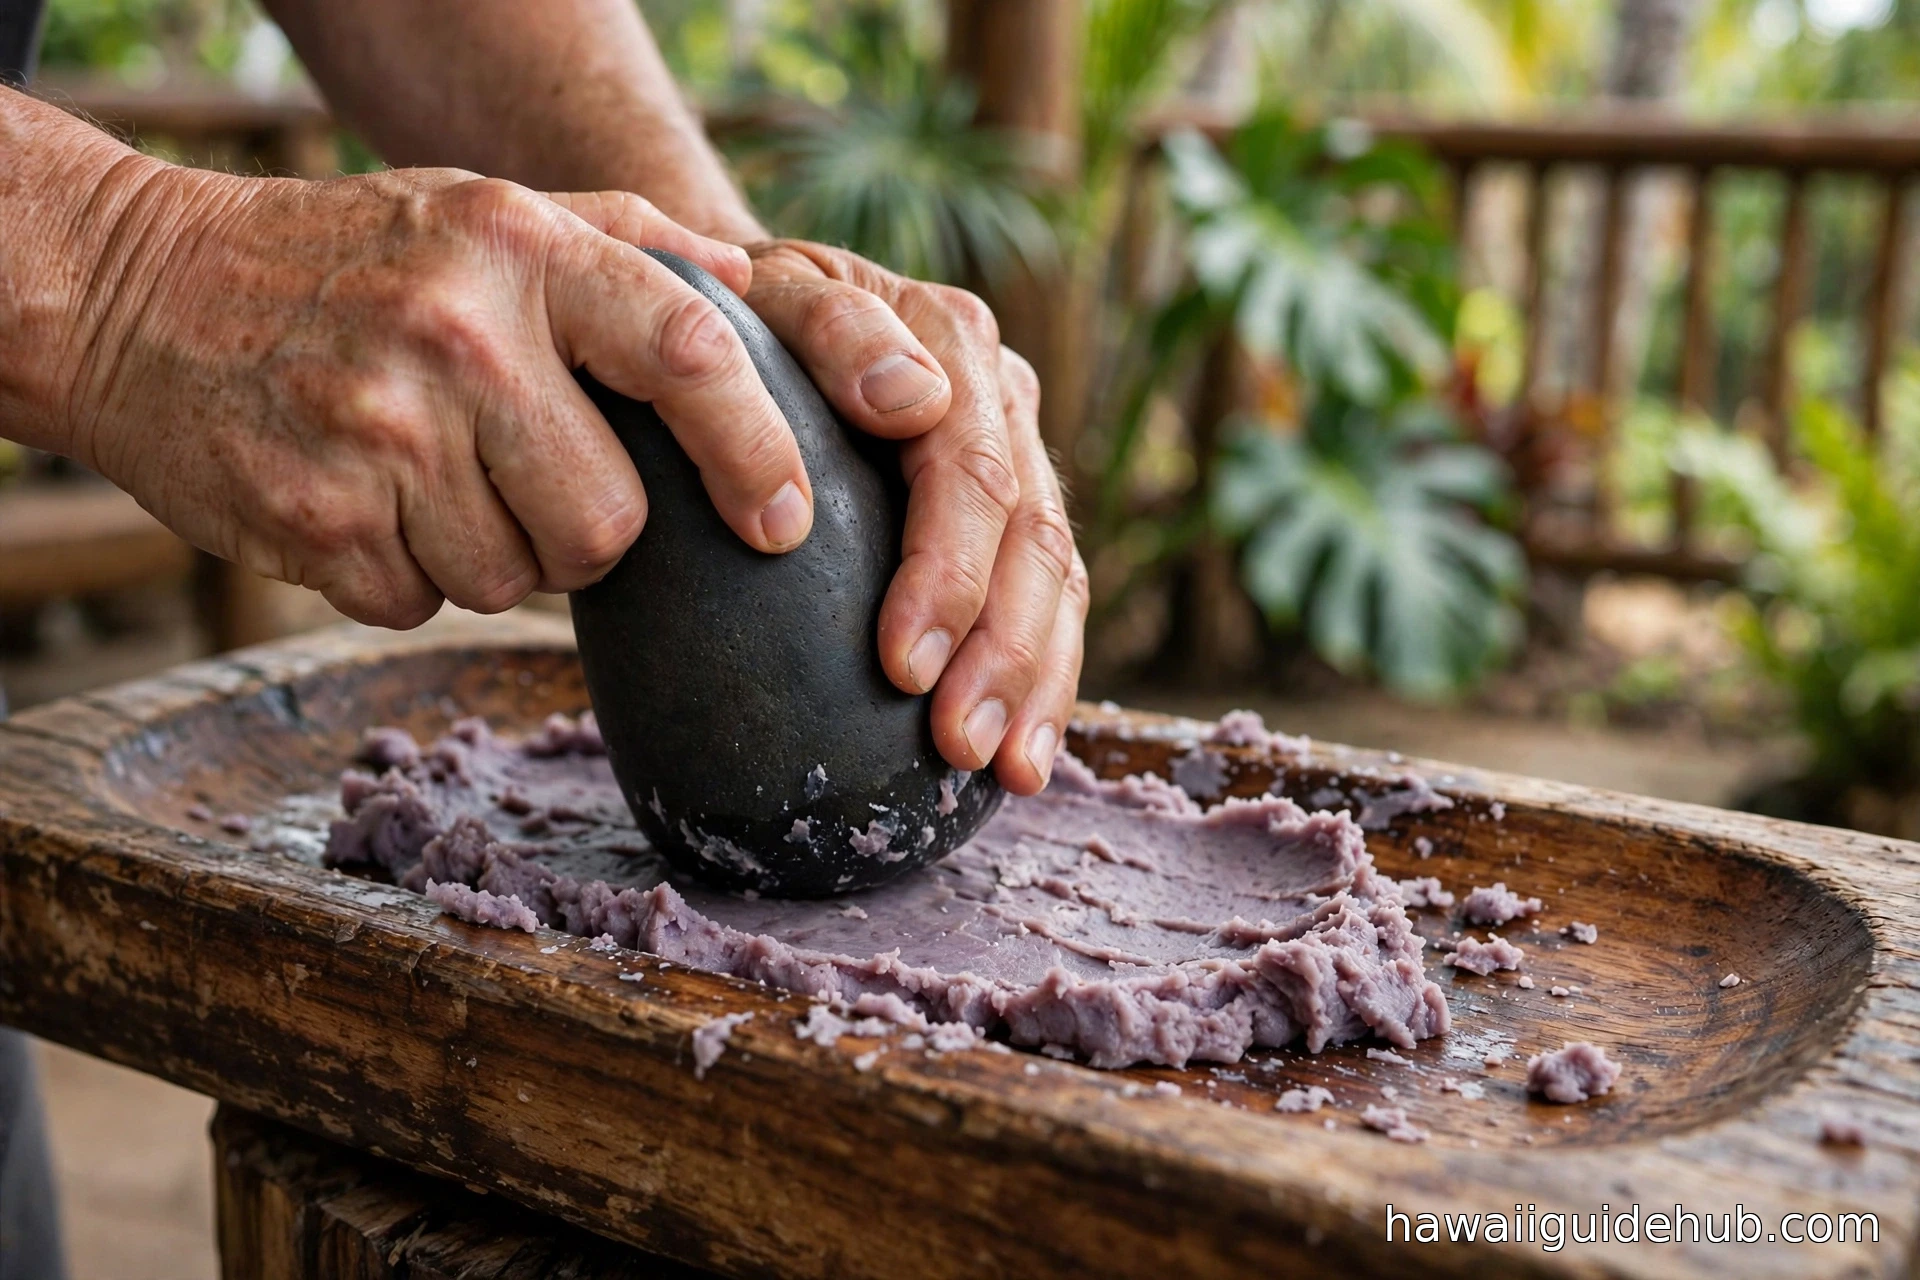
Traditionalists use a papa kuʻi ʻai (a long wooden pounding board) and a pohaku kuʻi ʻai (a heavy basalt stone pestle). If you happen to own these, wonderful. If not, a food processor gets you 90 percent of the way there with a fraction of the effort, and no Hawaiian will fault you for it.
The Recipe: Homemade Poi Step by Step
This method makes about 4 to 6 servings. Total time is roughly 2 hours, most of it hands-off while the taro cooks.
Step 1: Scrub the Taro
Scrub each taro corm thoroughly under cold running water with a vegetable brush to remove all dirt. Taro grows in mud, and grit is the enemy of smooth poi. Leave the skin on for cooking; it peels off far more easily after the taro is tender.
Step 2: Cook Until Completely Tender
Place the whole unpeeled corms in a steamer basket over boiling water, cover, and steam for 45 to 60 minutes. Alternatively, boil them in generously salted water for 40 to 50 minutes. The taro is done when a skewer or thin knife slides through the thickest part with no resistance at all. Undercooked taro makes lumpy poi and can irritate the throat, so when in doubt, give it another 10 minutes. There is no penalty for cooking it a little longer.
Step 3: Peel and Cut
Let the taro cool just enough to handle, then peel away the skin with a paring knife or your fingers. It should slip off easily. Cut away any dark or fibrous spots, then chop the flesh into rough 2-inch chunks.
Step 4: Pound or Mash
Working in batches, pound or process the warm taro into a thick, smooth mass. If using a food processor, pulse first to break it down, then run it continuously, stopping to scrape down the sides. If pounding by hand on a board, use the stone pestle in a rhythmic press-and-drag motion, working the taro outward from the center. This is the meditative heart of poi making. Take your time.
Step 5: Add Water Gradually
With the processor running or while pounding, drizzle in water a few tablespoons at a time. This is where poi becomes poi. Keep working and adding water until you reach a smooth, glossy paste with no lumps. The final texture is your choice (see the finger guide below). For classic two-finger poi, you are aiming for something the consistency of thick pudding that holds soft peaks.
Step 6: Season and Rest
Taste and add a pinch of sea salt if you like. Transfer to a bowl, smooth the top, and pour a thin layer of water over the surface to keep it from drying out. Cover with a clean damp towel. Fresh poi is ready to eat immediately. For sour poi, leave the covered bowl at cool room temperature for 1 to 2 days, then refrigerate. It will keep for weeks, growing tangier with age.
The Finger Guide: Getting the Thickness Right
Hawaiians measure poi the way it has always been measured: by fingers. The number of fingers it takes to scoop up a bite tells you exactly how thick the batch is.
One-finger poi is the thickest, a dense paste that clings to a single fingertip. This is the old style, hearty and substantial. Two-finger poi is the everyday standard, smooth and scoopable, the texture most people picture. Three-finger poi is the thinnest, loose enough to nearly pour, requiring three fingers to lift a proper bite.
None is more correct than the others. Thickness is preference and purpose. Thick poi stands up to rich meats; thinner poi works as a sauce-like accompaniment. When you buy bagged poi in Hawaii, the label often tells you which style you are getting.
How to Eat Poi Like a Local
At a traditional Hawaiian luau, poi arrives in a communal bowl, and everyone dips in. The classic technique: two fingers, scoop from the center of the bowl with a slight twist, straight to the mouth in one motion. It takes one try to learn and a lifetime to stop enjoying.
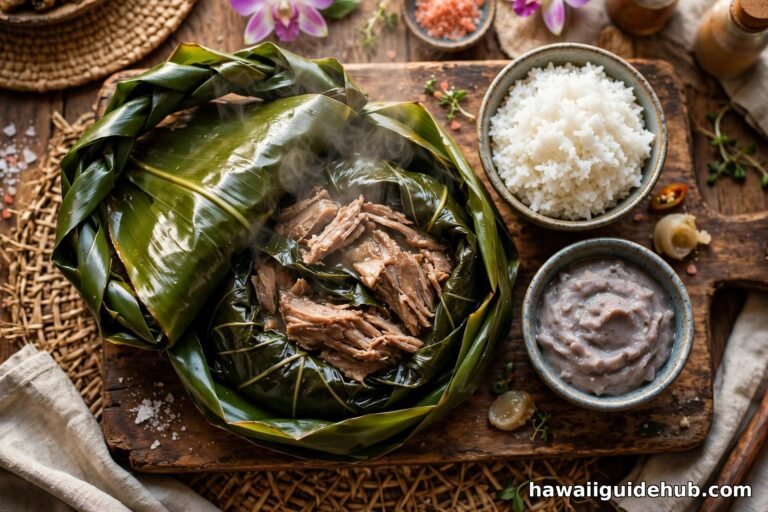
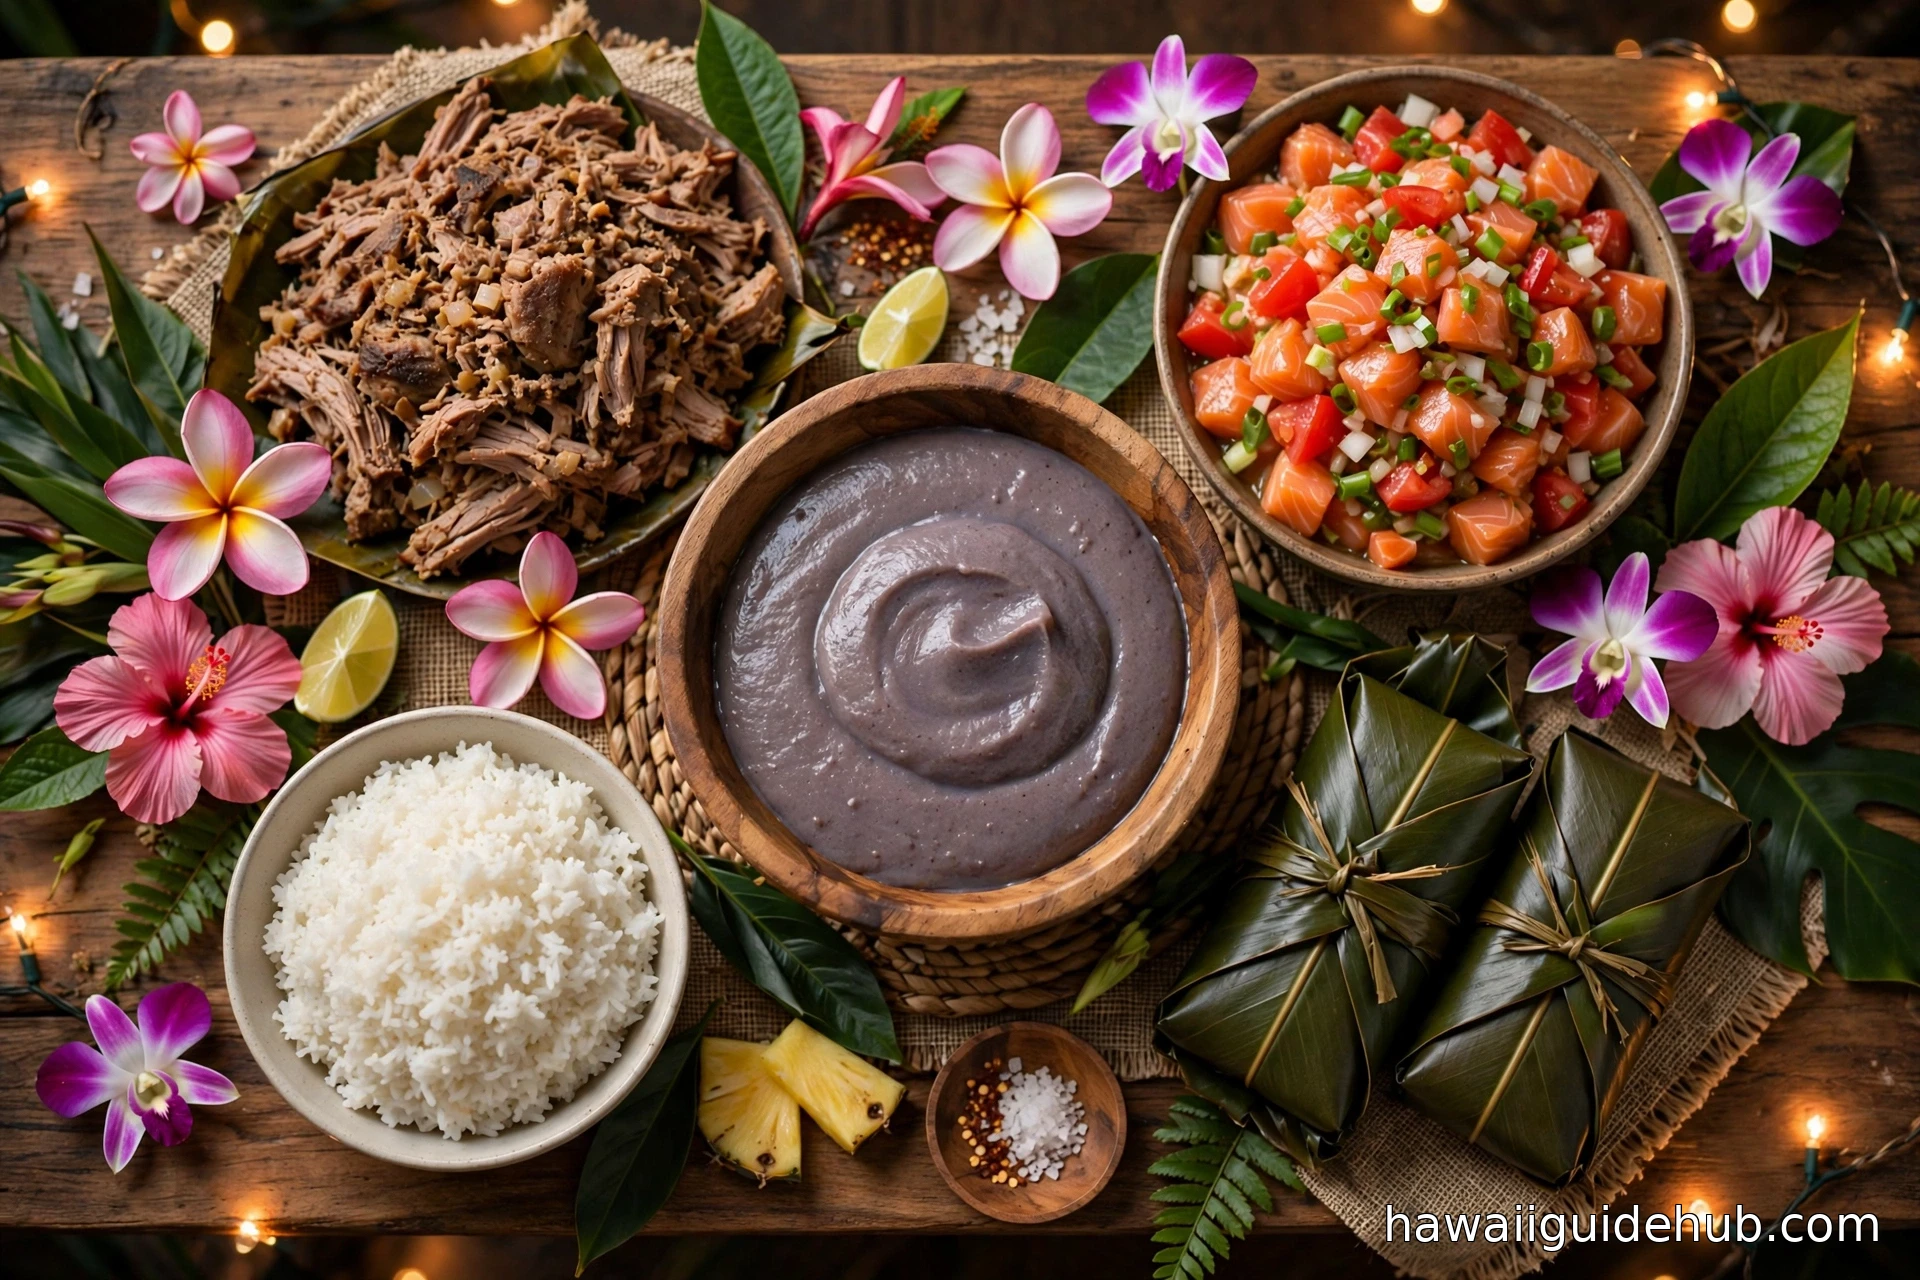
Poi is almost always eaten alongside other foods rather than alone. Its mild flavor is the perfect foil for salt and fat. The canonical pairings are kalua pork (smoky, salty, shredded), lomi lomi salmon (bright, acidic, fresh), and lau lau (rich steamed bundles of pork and fish in ti leaves). A bite of pork followed by a finger of poi is one of the great two-step combinations in all of food.
Modern local style adds personal touches. Some stir in a splash of milk and a spoonful of sugar for a breakfast-porridge effect. Others add shoyu for a savory edge. A few brave souls eat it straight from the bag, cold, standing in front of the open fridge. All are legitimate. Poi asks only that you eat it with respect and, ideally, with people you like.
Tips From People Who Make It Often
Cook the taro whole and unpeeled. Peeling raw taro is miserable work, the skin clings and the flesh oxidizes fast. After steaming, the skin practically falls off.
Work the taro while it is warm. Warm taro mashes smoothly; cold taro fights you and turns gummy. If your batch cools down mid-process, warm it gently before continuing.
Add water slowly. You can always add more water, but you cannot take it out. Thin poi is still delicious, but if you overshoot your target thickness, the only fix is more taro.
Do not fear the sour. First-timers sometimes throw out poi that has started to ferment, mistaking tang for spoilage. Sour poi is a feature, not a flaw. Trust your nose: pleasantly tangy like yogurt means it is perfect; truly off or moldy means it is done.
Freeze what you cannot finish. Poi freezes beautifully for months. Thaw in the refrigerator, stir well, and add a splash of water if needed to restore the texture.
Fresh Taro vs. Store-Bought and Powder
Outside Hawaii, fresh taro can be hard to find, and pounding poi from scratch is a project. You have options. Many Hawaiian markets and online shops sell fresh poi in bags, usually labeled by finger thickness. This is real poi, made the real way, and it is excellent.
Poi powder (dehydrated poi) is the shelf-stable alternative. Mixed with water, it reconstitutes into something recognizably poi-like. Purists will tell you it is not the same, and they are right, but it is a respectable stand-in when fresh is unavailable. If you go the powder route, whisk it very thoroughly and let it rest so the texture evens out.
Watch: From Kalo to Poi
Seeing the process makes everything click. This video walks through turning kalo through a poi mill into paʻiʻai, then thinning it with water into finished poi.
Why Poi Still Matters
Poi survived the collapse of the Hawaiian kingdom, the plantation era, and the rise of fast food. It survived because it is more than calories. Every bowl carries the story of Haloa, the elder brother, and the thousand-year relationship between a people and the plant that sustained them. When Hawaiians pound poi today, in school courtyards and family garages and commercial poi mills alike, they are not just making dinner. They are keeping a promise to their ancestors.
That is worth remembering the next time you see that quiet purple-gray bowl on the buffet table. Dip your fingers in. You are tasting history.
The aloha spirit that Hawaiians extend to visitors begins at the table, and poi is its most ancient expression. Make a batch, share it with people you care about, and you will understand why no Hawaiian meal feels complete without it.