How to Make Guava Nectar at Home

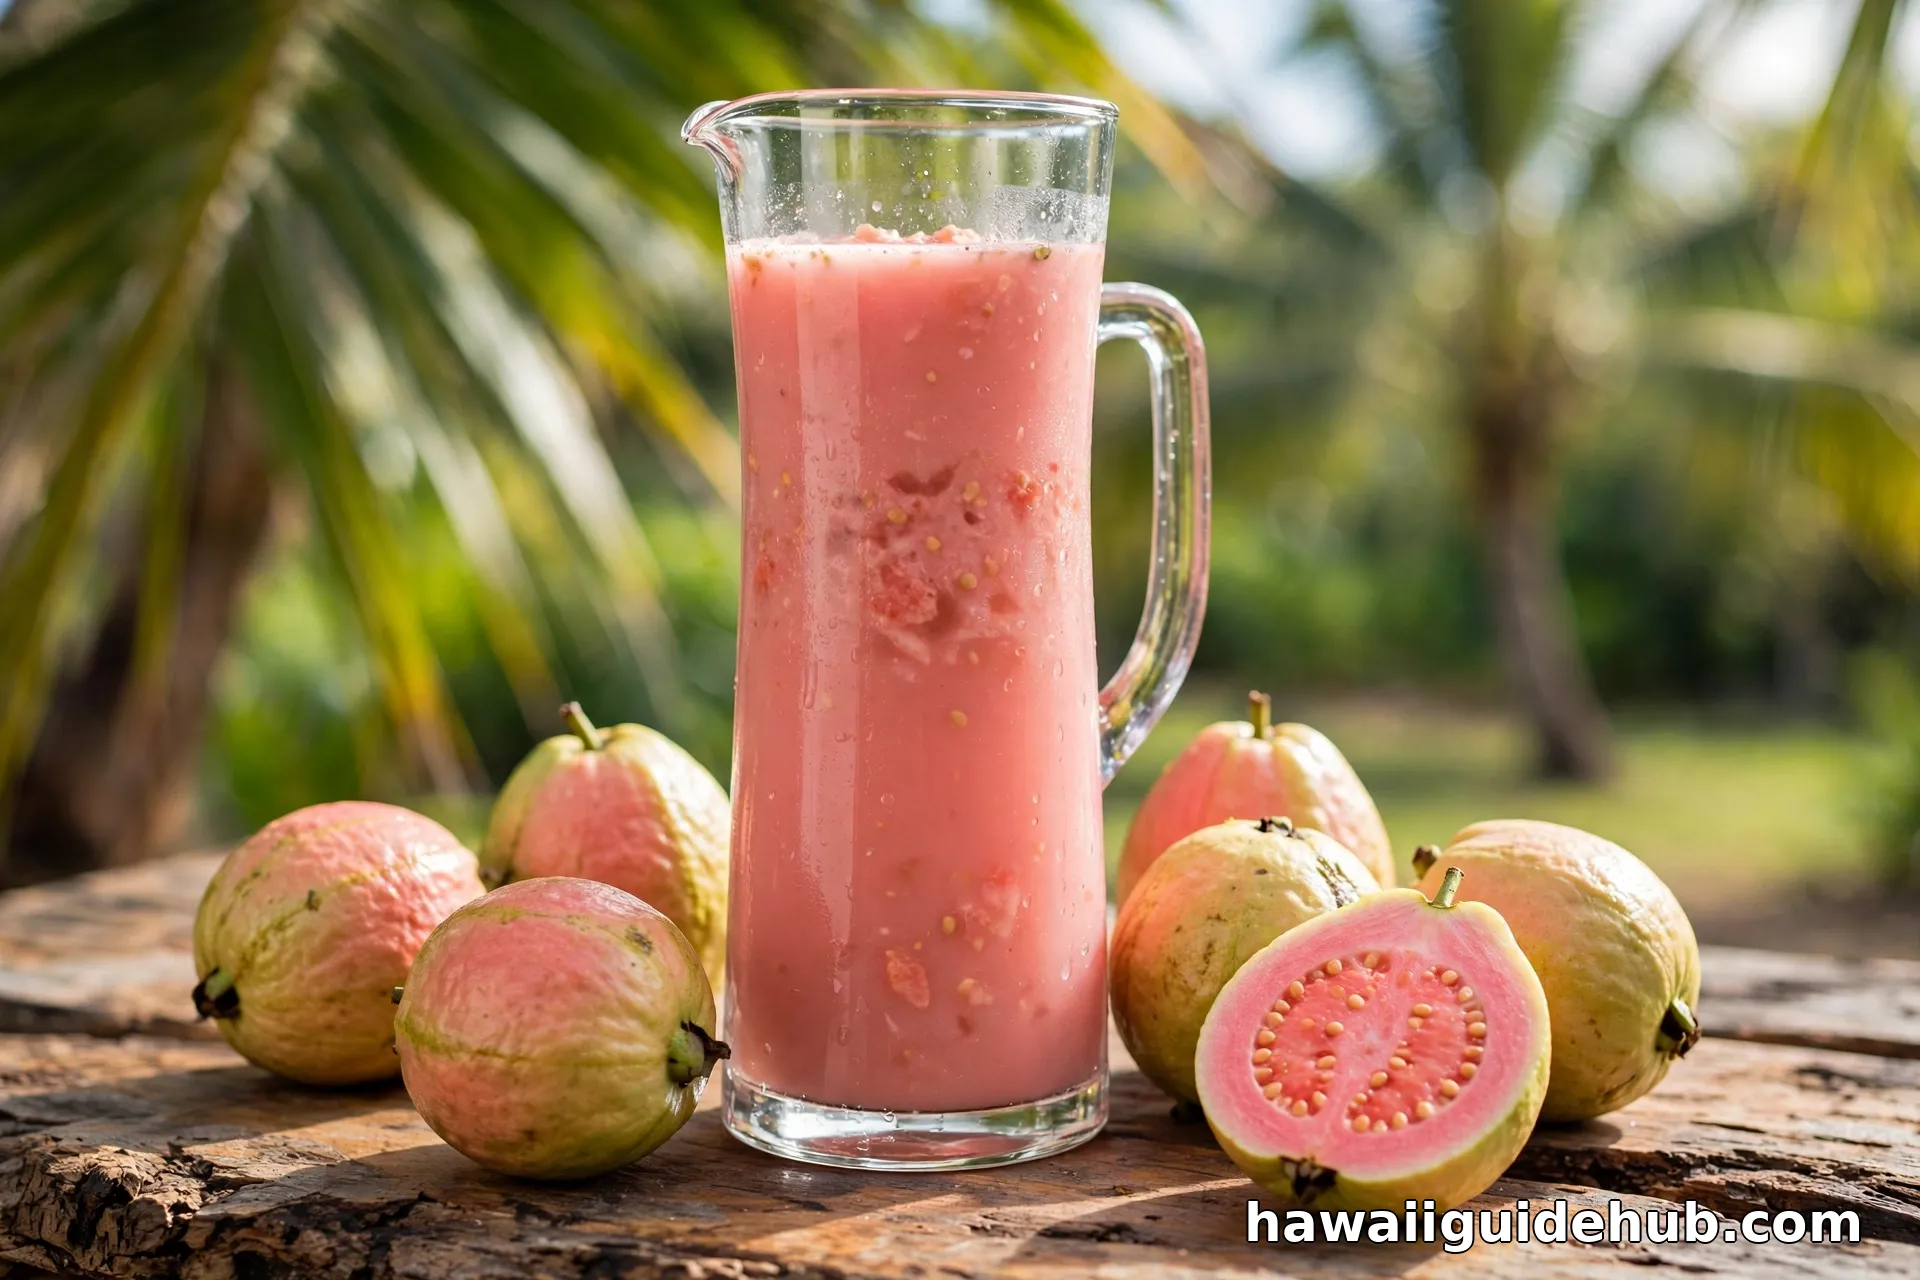
Guava nectar is the pink, fragrant drink that tastes like Hawaii in a glass. Visitors first meet it at breakfast buffets, in the famous POG juice blend, and in shave ice syrups across the islands. The good news is that you do not need a plane ticket or a can of concentrate to enjoy it. With a bag of ripe guavas, a pot, and a strainer, you can make real guava nectar at home in about an hour.
This is the single complete guide to how to make guava nectar. It covers what nectar actually means, which guavas to use, the full recipe with measurements, how it differs from guava juice, smart variations, storage and food safety, and where visitors run into guava nectar around Hawaii. Everything about making guava nectar is answered on this one page.
Guava Nectar at a Glance
| The drink | A drink of guava pulp or puree mixed with water and sweetener |
| The fruit | Ripe pink guavas (Psidium guajava) |
| The time | 15 minutes prep, 25 to 30 minutes cook |
| The yield | About 6 cups (1.5 quarts) |
| The effort | Easy, one pot plus a strainer |
| Keep it | Refrigerated in a sealed container, up to 1 week |
| Serve it | Chilled over ice |
What Guava Nectar Actually Is
Nectar is not the same thing as juice. Juice is pressed straight from fruit. Nectar is made by mixing fruit pulp or puree with water and a sweetener, which is exactly why it suits guava so well. Guavas are seedy and thick-fleshed, so pressing them gives you very little liquid. Turning the whole cooked pulp into a smooth puree and thinning it with water and sugar gives you the silky pink drink that Hawaii made famous.
There is even an international definition behind the word. The Codex Alimentarius standard for fruit nectars says a guava nectar should contain not less than 35 percent fruit puree, with the balance made up of water and sweeteners such as sugar. Homemade nectar easily clears that bar, since you control how much pulp goes in. The canned and frozen guava nectar sold in stores follows the same idea, usually made from concentrate plus water and sugar.
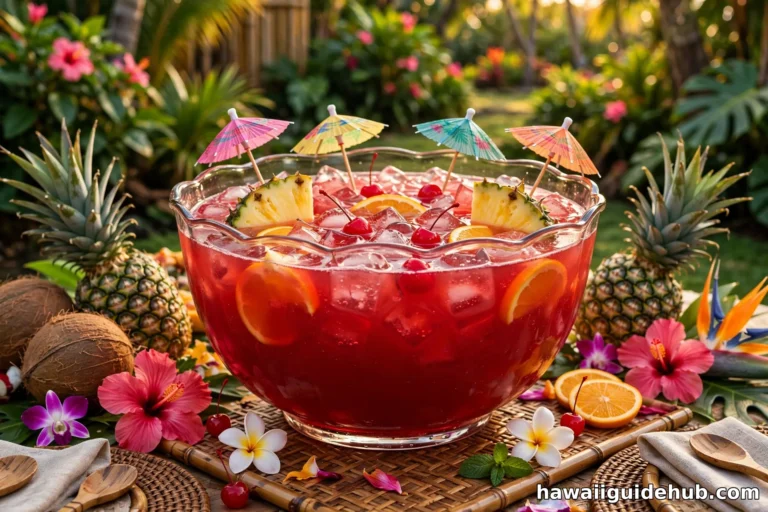
In Hawaii, guava nectar is woven into daily life. The most famous example is POG, the passion-orange-guava juice blend that shows up at nearly every hotel breakfast and grocery store in the islands. Guava nectar also flavors shave ice, cocktails, smoothies, and desserts from malasadas to cheesecake. Making it fresh at home gives you a brighter flavor than any can, because ripe guavas lose their perfume quickly once processed.
Which Guavas to Use
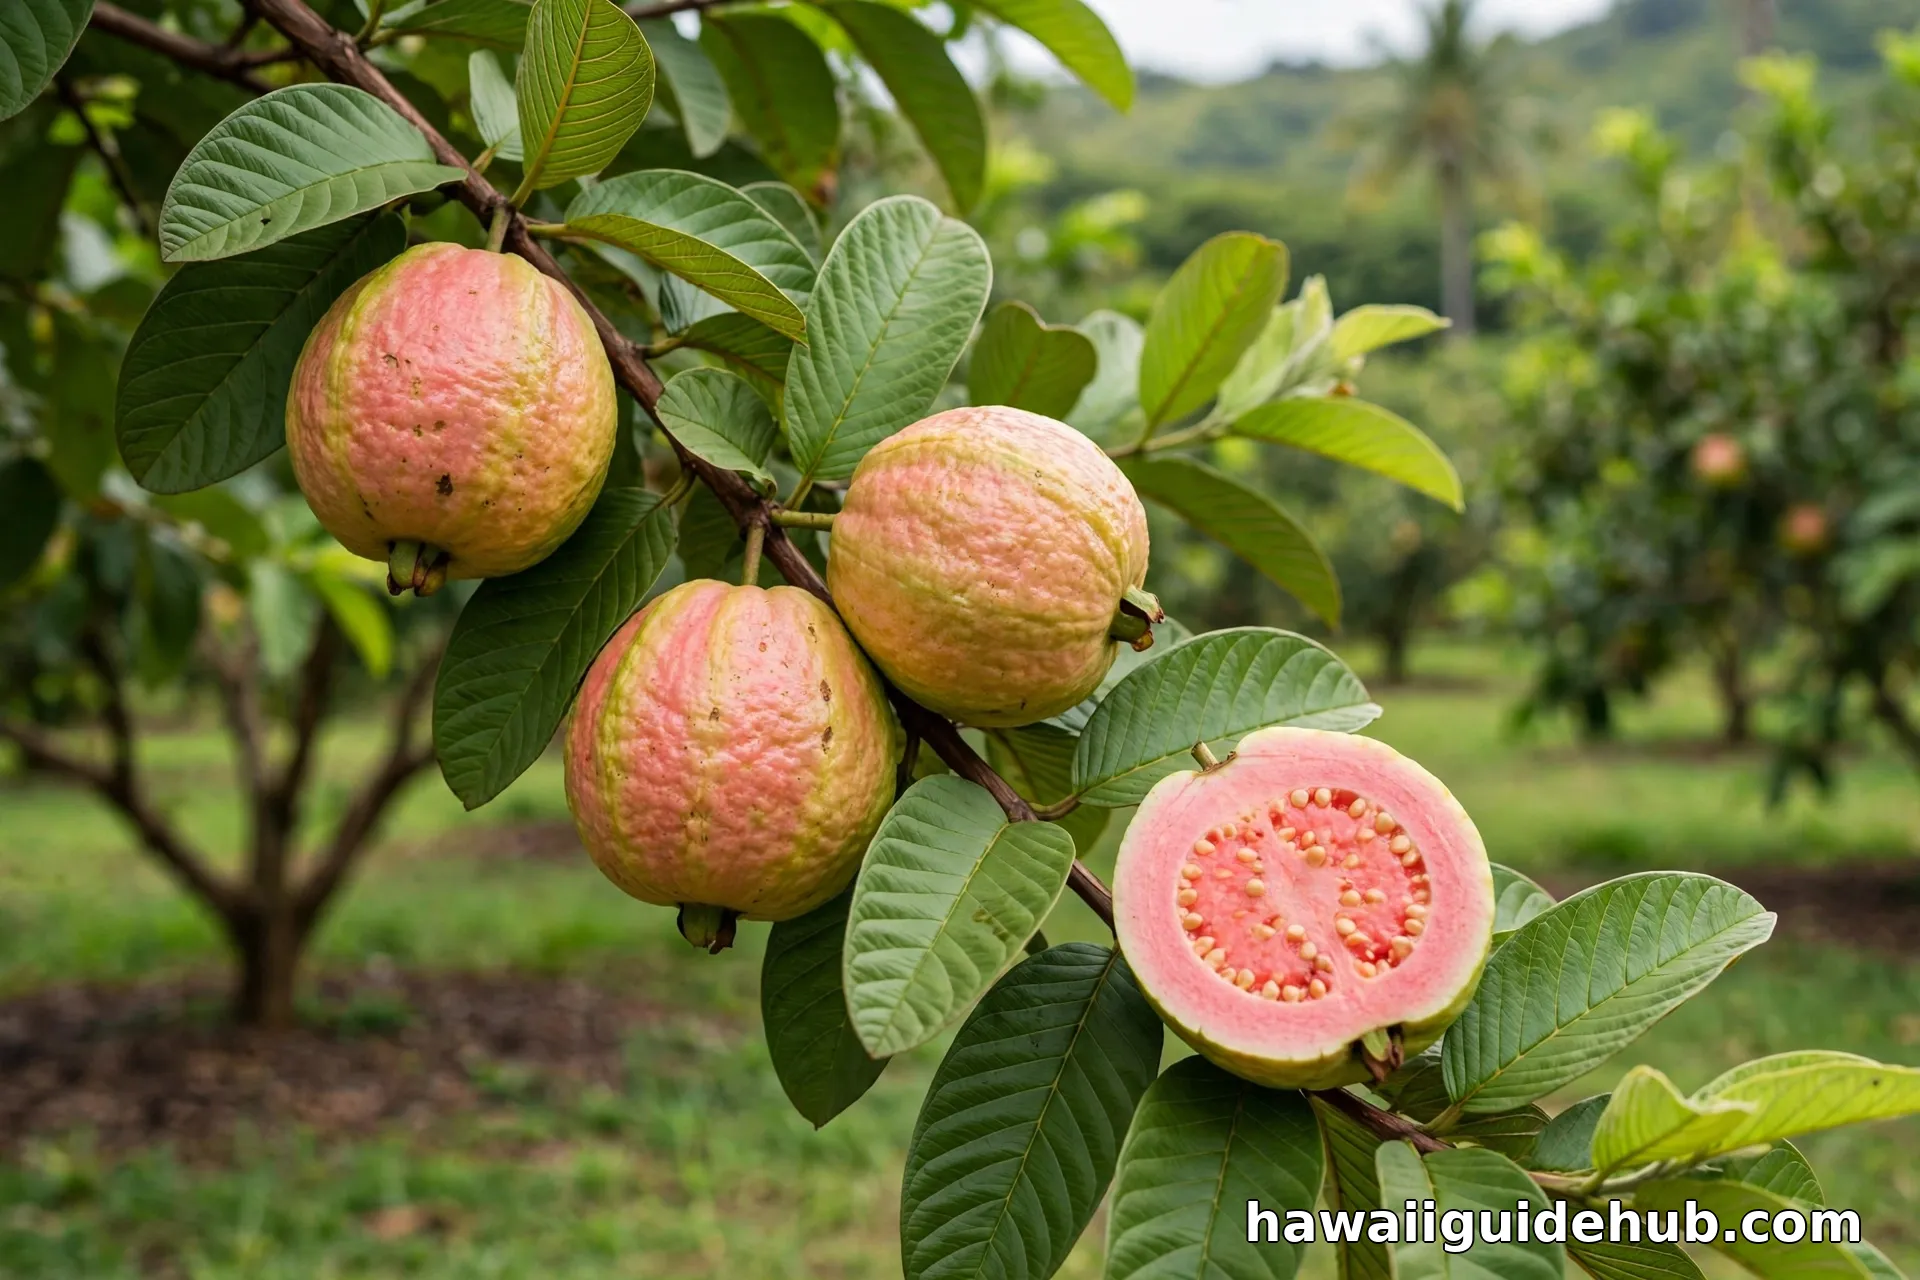
The classic choice is the common pink guava, the round yellow-skinned fruit with salmon-pink flesh that grows wild all over Hawaii. Pink guavas give nectar its signature blush color and its perfume, a floral scent somewhere between strawberry and pear. White-fleshed guavas work too, but the nectar comes out pale and milder, so pink is the better pick for this recipe.
Pick fruit that is fully ripe. A ripe guava gives slightly when pressed, smells strongly sweet even through the skin, and may have a few soft spots. In Hawaii, guavas drop from the tree when they are ready, and fallen fruit that is still firm is usually perfect. If you are buying guavas at a farmers market, ask for eating-ripe fruit rather than the hard green ones meant for cooking. For a deeper dive into the islands’ fruit, see our guide to native Hawaiian fruits.
One caution: strawberry guava, the small red fruit common in Hawaii’s forests, makes a tasty drink but a very different one. It is tarter, darker red, and more astringent. This recipe is written for common pink guavas. If strawberry guavas are all you have, the method still works, but expect a tangier nectar and consider adding a little extra sugar.
Ingredients and Equipment
This recipe makes about six cups of nectar. You need only a handful of things, and most are already in your kitchen.
- 2 pounds ripe pink guavas (about 10 to 12 medium fruit), quartered
- 4 cups water, plus more to adjust thickness
- 1/2 to 3/4 cup white sugar, to taste
- 1 tablespoon fresh lemon or lime juice (optional, brightens the flavor)
- Pinch of salt (optional, rounds out the sweetness)
For equipment, you need a large pot, a potato masher or wooden spoon, a fine-mesh strainer, and a large bowl or second pot to catch the strained nectar. A cone-shaped chinois strainer works beautifully if you have one, but a regular mesh sieve and a spoon do the job. Do not use a blender as your only tool: blending grinds the hard little seeds into grit that no strainer fully removes.
How to Make Guava Nectar: Step by Step
Step 1: Wash and Quarter the Guavas
Rinse the guavas under cool running water and rub off any dirt. Trim away the blossom end and any bruised spots. Cut each guava into quarters. There is no need to peel them; the skins soften completely during cooking and add body to the nectar. Leave the seeds in for now. They will be strained out later, and cooking the fruit with the seeds intact extracts the most flavor.
Step 2: Simmer Until Completely Soft
Put the quartered guavas in a large pot with 4 cups of water. Bring to a boil over medium-high heat, then reduce to a gentle simmer. Cook for 25 to 30 minutes, stirring occasionally and mashing the fruit with a potato masher as it softens. The guavas are ready when the flesh falls apart at a touch and the cooking liquid has turned a deep pink. If the pot looks dry at any point, add a splash more water.
Step 3: Mash and Strain Out the Seeds
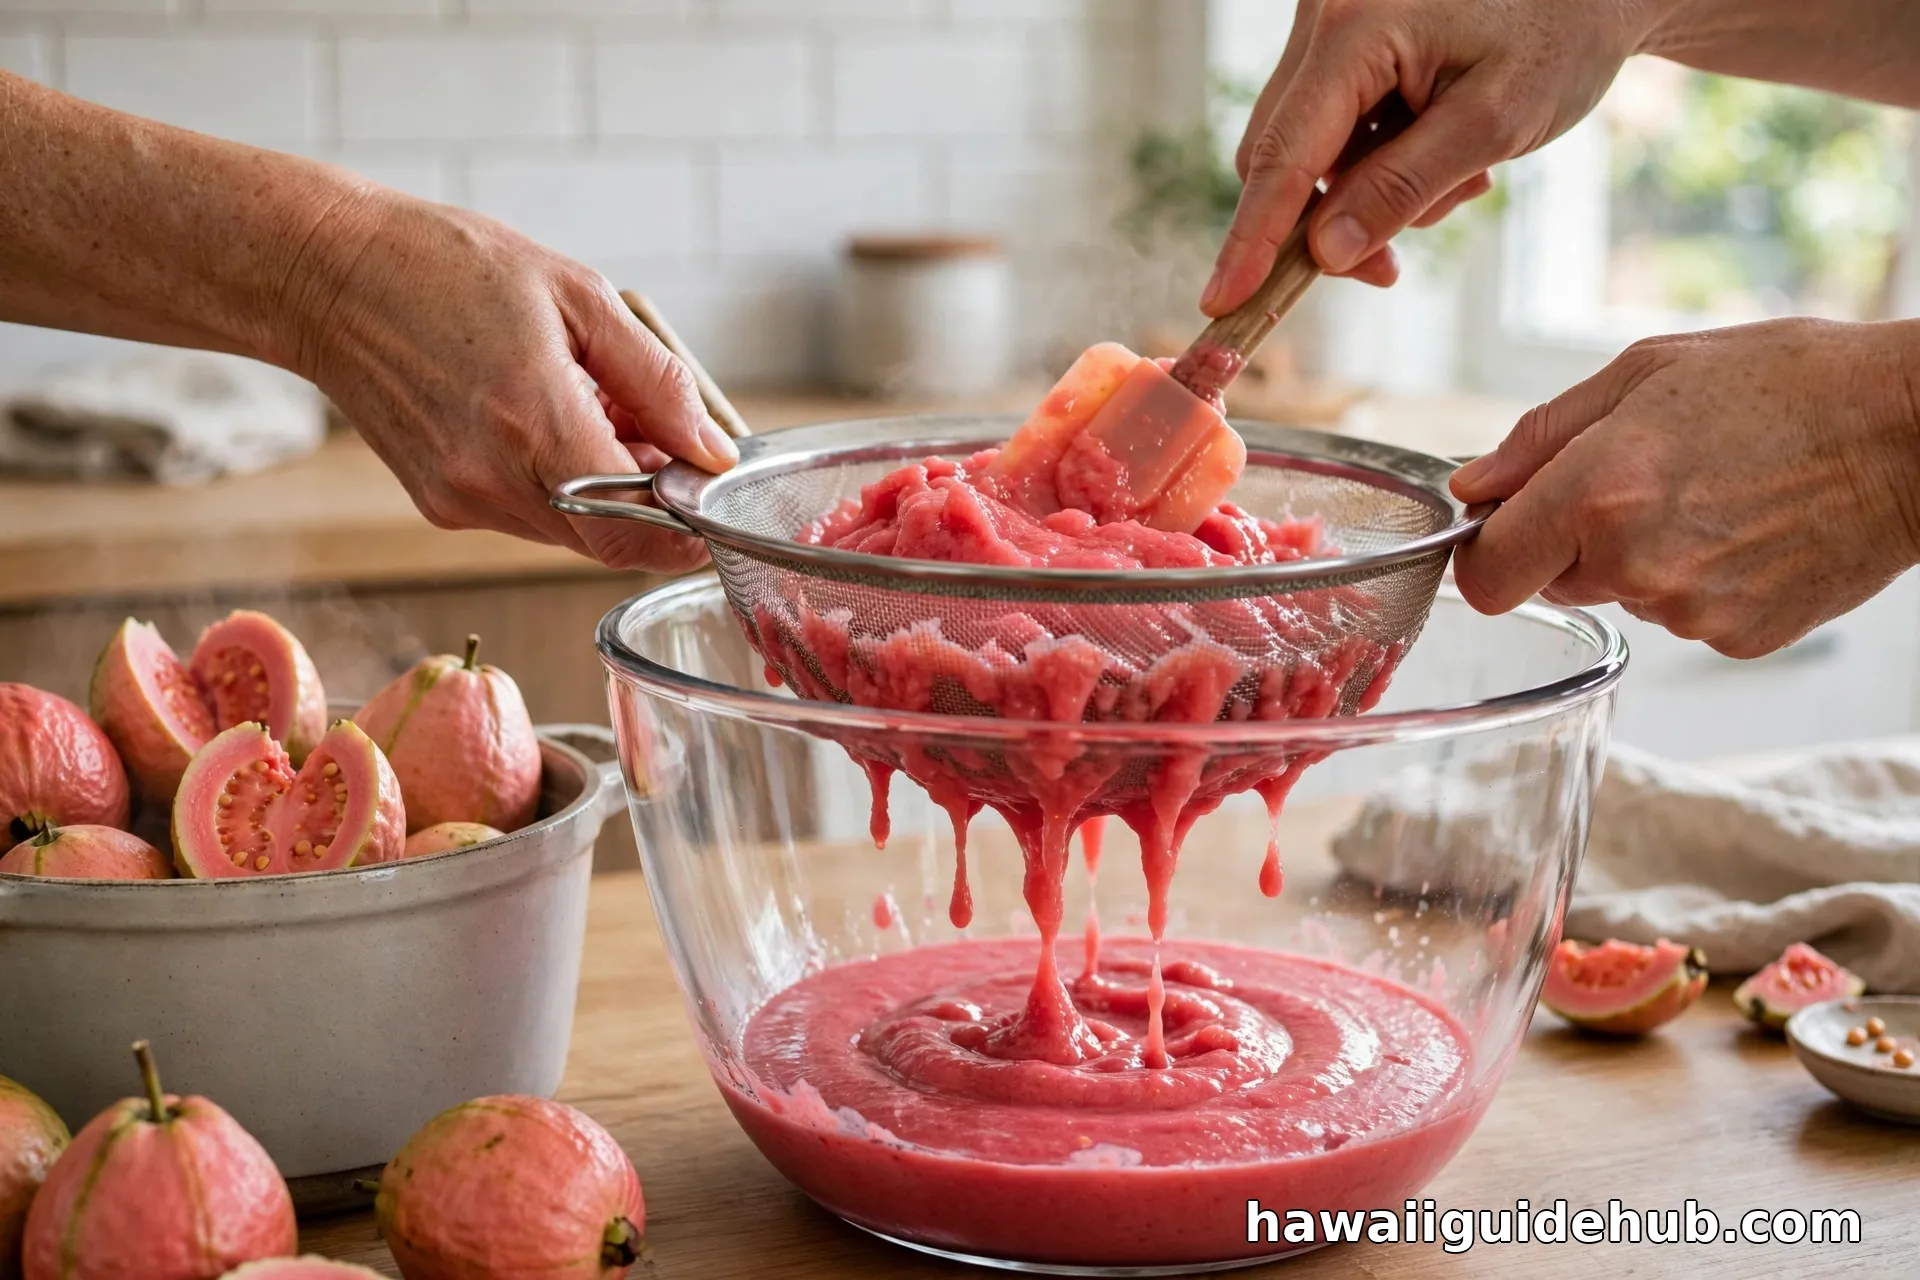
Set your fine-mesh strainer over a large bowl. Ladle the hot fruit and liquid into the strainer in batches. Press the pulp firmly with the back of a spoon or ladle, working it in circles until only a dry mass of seeds and skins remains. Discard that mass and repeat with the next batch. What passes through is your nectar base: thick, fragrant, and seed-free. Take your time here. Rushing this step leaves seeds in the drink, and guava seeds are unpleasantly hard.
Step 4: Sweeten to Taste
While the strained nectar is still warm, stir in 1/2 cup of sugar and taste. Guavas vary a lot in sweetness, so add the remaining sugar a spoonful at a time until the nectar tastes balanced to you. The goal is a drink that tastes like guava first and sweetness second. Stir in the lemon or lime juice and the pinch of salt if you are using them. Both are optional, but the citrus lifts the aroma and the salt makes the fruit flavor pop.
Step 5: Adjust, Chill, and Serve
Thin the nectar with water until it pours the way you like. Some people love it thick enough to coat a spoon; others prefer it light and drinkable. As a rule of thumb, a true nectar should still taste strongly of fruit after thinning. Cool it to room temperature, then refrigerate for at least two hours. Serve over ice, and stir before pouring, since the pulp settles naturally.
Tip: If your nectar tastes flat, it usually needs acid, not sugar. A teaspoon more lemon juice wakes up the flavor better than another spoonful of sugar. If it tastes too tart, add sugar in small amounts. And if the color looks brownish rather than pink, your guavas were underripe. Next time, wait until they smell fragrant before cooking.
Guava Nectar vs. Guava Juice
People use the two terms interchangeably, but they describe different drinks. Guava juice is the thin liquid pressed or extracted from the fruit, often clarified. Guava nectar keeps the pulp, which makes it thicker, cloudier, and more filling. Commercial guava nectar is essentially diluted puree with added sweetener, while commercial guava juice may be reconstituted from concentrate with the pulp removed. Homemade nectar sits in the best middle ground: all the fiber and flavor of the whole fruit, sweetened exactly to your taste.
Nutritionally, guava brings a lot to the glass. According to the USDA, raw guava provides about 228 milligrams of vitamin C per 100 grams, several times the amount in an orange, along with useful fiber and potassium. Sweetening dilutes those benefits a little, but a glass of homemade nectar still starts from real whole fruit, which is more than you can say for most pink drinks.
Easy Variations
Once you have the basic method down, guava nectar is easy to customize. A POG-style blend mixes your nectar with equal parts passion fruit juice and orange juice, which recreates the beloved Hawaiian breakfast drink. A lilikoi twist stirs in a quarter cup of passion fruit pulp for extra tang. For a lighter drink, replace half the sugar with honey, or skip the sweetener entirely if your guavas are very ripe and you enjoy a tart edge.
Frozen guava pulp, sold in many mainland grocery stores in the freezer aisle, also works. Thaw it completely, thin it with water and sugar to taste, and skip the cooking and straining steps. The flavor is milder than fresh, but it is a fine shortcut when fresh guavas are out of season. If you enjoy exploring island flavors, our culinary journey through Hawaii’s must-try local dishes is a good next read.
Storage and Food Safety
Homemade guava nectar has no preservatives, so treat it like fresh juice. Refrigerate it in a clean, sealed container and use it within one week. If you want to keep it longer, freeze it in portions for up to three months; thaw overnight in the refrigerator. Discard the nectar if it smells fermented, tastes fizzy, or shows any mold. Always start with clean equipment, and cool the nectar promptly rather than leaving it on the counter for hours.
Where Visitors Encounter Guava Nectar in Hawaii
You will not have to look hard. Guava nectar anchors the juice station at most Hawaii hotel breakfasts, usually as part of POG. Grocery stores across the islands stock cans and cartons from local dairies and juice companies, and farmers markets often sell fresh-pressed versions. Shave ice stands use guava syrup in rainbow combinations, and many bars mix guava nectar into tropical cocktails and mocktails. Tasting the commercial versions first is actually a smart move: it gives you a reference point for how sweet and thick you like your homemade batch. For more island sweets with deep roots, read about malasadas and Hawaii’s Portuguese baking traditions.
Watch: Making Guava Juice at Home
Frequently Asked Questions
Can I make guava nectar without cooking the fruit?
Yes, but the texture is different. Blending raw ripe guavas with water and straining gives you a fresh, bright drink closer to agua fresca. Cooking softens the fruit, deepens the color, and extracts more pulp, which is what makes true nectar thick and silky. The cooked version also keeps a few days longer in the refrigerator.
Do I have to peel the guavas?
No. The skins break down during simmering and get strained out with the seeds. Peeling is wasted effort for nectar, though you should trim any damaged spots.
Why is my nectar bitter?
Bitterness usually comes from underripe fruit or from grinding the seeds. Use fully ripe, fragrant guavas, and press the pulp through the strainer instead of blending the seeds into it. A little extra sugar and a squeeze of lime also mask mild bitterness.
Can I can guava nectar for shelf storage?
Guava nectar can be water-bath canned like other fruit products, but safe canning requires tested recipes with correct acidity and processing times. If you are new to canning, freezing is the simpler and safer option for homemade nectar.
What is the difference between guava nectar and POG?
Guava nectar is a single-fruit drink made from guava pulp, water, and sweetener. POG is a blend of passion fruit, orange, and guava juices, and it is the signature juice of Hawaii. Your homemade guava nectar is one of the three building blocks of POG.
Making guava nectar at home connects you to one of Hawaii’s most familiar flavors, and it is far simpler than most people expect. Start with truly ripe fruit, strain patiently, sweeten to your own taste, and you will have a pitcher of pink nectar that beats anything from a can. Once you taste the fresh version, the store-bought kind starts to taste like a memory of the real thing.