Hawaiian Sweet Bread: The Story and Recipe Behind Hawaii’s Favorite Loaf

You know the smell before you know the name. It hits you in the grocery store bread aisle, warm and sweet, or in a Honolulu bakery at seven in the morning when the first pans come out of the oven. It is butter and honey and something tropical you cannot quite place, and once you have tasted the real thing, no ordinary dinner roll ever quite measures up again.
Hawaiian sweet bread occupies a strange and wonderful place in American food culture. It is the rare regional specialty that escaped its region entirely. You can buy it in Ohio and Maine and Texas, stacked in orange packages that promise a little taste of the islands. But the bread most people know from the supermarket is only the final chapter of a story that starts in the Azores, crosses an ocean with sugar plantation workers, and passes through the hands of a Japanese-American baker in Hilo who figured out how to make it last.
This is that story, and it ends with a recipe. Not a copy of any commercial formula, but a tested home-baker’s version that captures what makes this bread special: the tender crumb, the golden crust, the gentle sweetness that comes from honey and pineapple juice rather than a heavy hand with white sugar. If you have ever wanted to pull a glossy, mahogany-colored loaf out of your own oven, this is your guide.
What Makes Hawaiian Sweet Bread Different
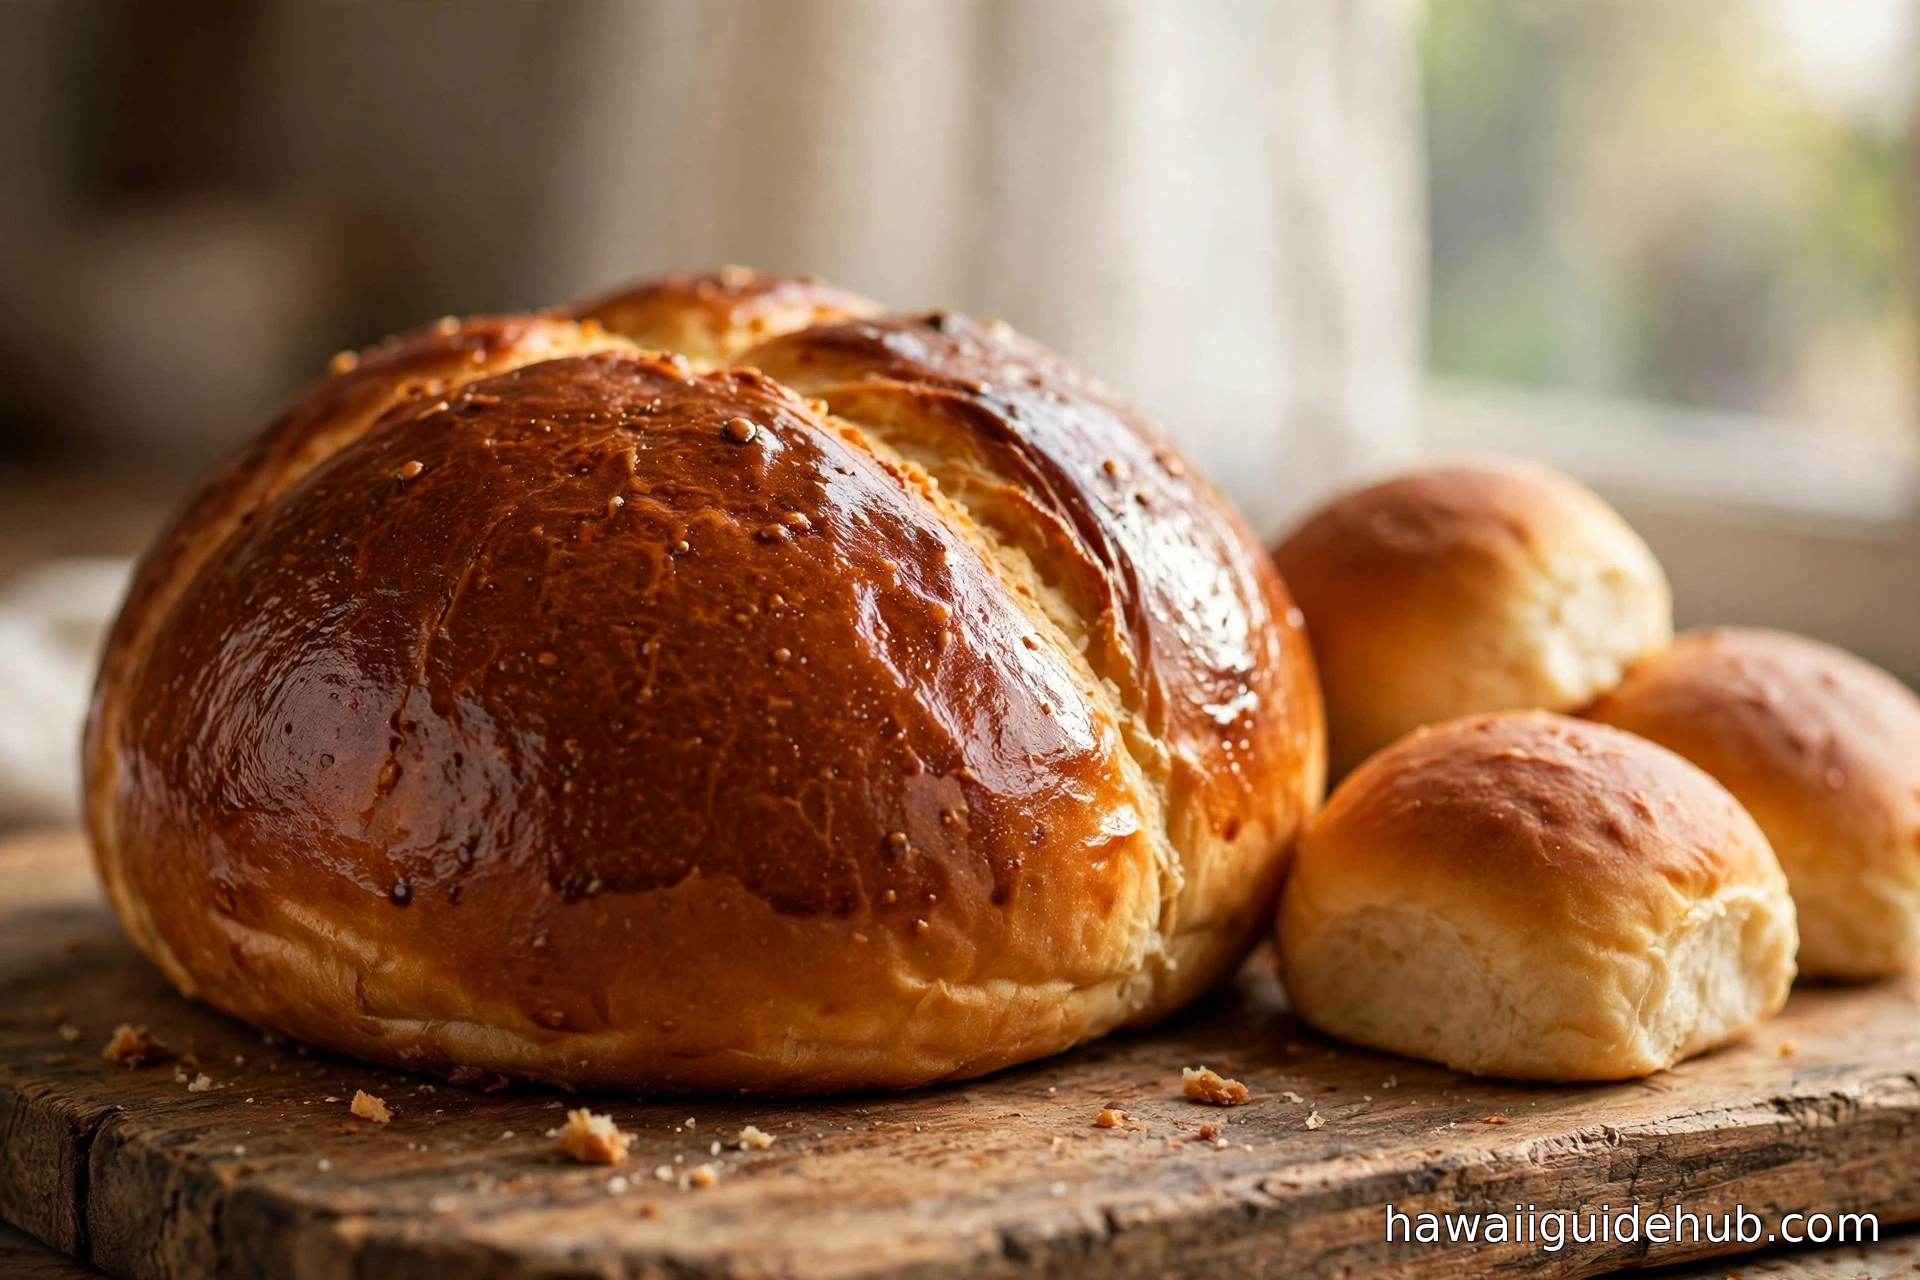
At first glance, Hawaiian sweet bread looks like any enriched loaf. It is round or baked as pull-apart rolls, with a deep golden crust that shines like polished wood. Tear it open and the interior is soft, fine-crumbed, and faintly yellow from the eggs. The flavor is where it separates itself: sweet, but not dessert sweet. Buttery, but lighter than brioche. And underneath it all, a whisper of tropical fruit that most people cannot identify until someone tells them.
That whisper is pineapple juice. Along with honey, it is the signature of the Hawaiian adaptation, the ingredient that distinguishes the island version from its Portuguese ancestor. The juice does two jobs at once. Its natural sugars feed the yeast and deepen the bread’s sweetness, and its mild acidity tenderizes the crumb, giving the finished loaf that almost cake-like softness. Combined with milk, eggs, and butter, it produces a dough that is rich without being heavy, sweet without being cloying.
The texture matters as much as the taste. A proper Hawaiian sweet bread should pull apart in soft strands rather than crumbling. The crust should be thin and tender, never thick or chewy. When you press the top of a warm roll, it should spring back slowly, like a good pillow. Achieving this at home is mostly a matter of patience: a full rise, a gentle hand with the flour, and an oven that is hot but not aggressive.
From the Azores to the Plantations: The Portuguese Roots
Long before anyone called it Hawaiian, this bread was Portuguese. In the late 1800s, workers from the Azores Islands began arriving in Hawaii to labor in the sugar cane fields. They came with little, but they brought their food traditions with them, and among the most cherished was massa sovada, known on the mainland of Portugal as pão doce, sweet bread.
Massa sovada is a festive bread, rich with eggs, sugar, and butter, traditionally baked for Easter and celebrations. In the plantation camps, it became something more: a taste of home in a foreign place, baked in outdoor ovens and shared among families who had crossed half the world for work. The bread was so beloved and so quick to harden that local families jokingly called the day-old loaves “stone bread,” because a loaf left overnight could turn hard as a rock.
The Portuguese left a deep mark on Hawaii’s food culture that goes far beyond this one loaf. Their malasadas, the sugar-dusted fried dough now associated with Leonard’s Bakery in Honolulu, followed a similar path from Azorean tradition to island icon. Portuguese sausage, sweet bread stuffing at Thanksgiving, and the Holy Ghost Festival feasts all trace back to those same plantation-era immigrants. To understand Hawaiian sweet bread is to understand a whole chapter of how Hawaii eats.
Robert Taira and the Birth of a Legend
The man who turned a local favorite into a national phenomenon was Robert Taira, the Hawaiian-born son of Japanese immigrants. Taira graduated at the top of his baking class and, in 1950, borrowed a small sum from his father to open a tiny storefront in Hilo. He called it Robert’s Bakery, and it sold cakes and bread to the local community.
Taira’s breakthrough was deceptively simple. Portuguese sweet bread was delicious but fragile. It staled within a day, which meant it could never travel beyond the neighborhood bakery. Taira reworked the formula, adjusting the sweeteners toward honey and pineapple juice and refining the method until he had a loaf that stayed soft for days. Suddenly, Hawaiian sweet bread could be packaged, shipped, and sold in supermarkets. A neighborhood treat became a product.
In 1963, Taira moved the operation to King Street in Honolulu and renamed it King’s Bakery, a nod to its new address. The bakery and its small cafe became a destination. Locals bought loaves by the armful, and tourists discovered that a round of sweet bread made the perfect edible souvenir, something that actually survived the flight home. Boxes of the bread began traveling to the mainland in suitcases, and demand followed.
The leap to the mainland came in 1977, when Taira opened a bakery in Torrance, California, and the company became King’s Hawaiian. By the early 1980s, the bakery was grossing tens of millions of dollars a year, and the 12-pack of sweet rolls introduced in 1983 turned the brand into a fixture of American holiday tables. Taira passed away in 2003, but the family company he built still runs on his original recipes, a uniquely American success story that started with a $382 loan and a better loaf of bread.
The Recipe: Hawaiian Sweet Bread at Home
Commercial bakeries guard their exact formulas, and no home recipe will be a perfect clone of the orange-packaged rolls. That is not the goal here. This recipe is built from the same principles Taira used: an enriched dough, honey and pineapple juice as the signature sweeteners, and a patient two-rise method that develops the soft, shreddable crumb. It makes one large round loaf or a pan of twelve rolls, and it has been tested to work in a standard home kitchen with standard equipment.
A note on the pineapple juice: use plain canned or bottled juice, not fresh. Fresh pineapple contains an enzyme called bromelain that breaks down protein, and it can interfere with the dough’s structure. Canned juice has been heat-treated, which deactivates the enzyme. This is one of those small details that separates a good loaf from a frustrating one.
Ingredients
- 4 1/2 cups bread flour, plus extra for kneading
- 1/2 cup granulated sugar
- 2 1/4 teaspoons active dry yeast (1 standard packet)
- 1 teaspoon fine salt
- 1/2 cup whole milk, warmed to about 110°F
- 1/2 cup canned pineapple juice, at room temperature
- 1/4 cup honey
- 1/4 cup unsalted butter, melted and cooled slightly
- 2 large eggs, at room temperature
- 1 teaspoon vanilla extract
- 1 egg beaten with 1 tablespoon milk, for the egg wash
Instructions
- Wake up the yeast. Pour the warm milk into a small bowl, stir in a pinch of the measured sugar, and sprinkle the yeast over the top. Let it sit for 5 to 10 minutes until foamy and fragrant. If nothing happens, the milk was too hot or the yeast is dead; start over rather than pushing ahead with flat bread.
- Mix the dry ingredients. In a large bowl, whisk together the bread flour, remaining sugar, and salt.
- Whisk the wet ingredients. In a second bowl, combine the pineapple juice, honey, melted butter, eggs, and vanilla. Pour in the foamy yeast mixture and stir.
- Bring the dough together. Pour the wet mixture into the dry ingredients and stir with a wooden spoon until a shaggy dough forms. Turn it out onto a lightly floured surface.
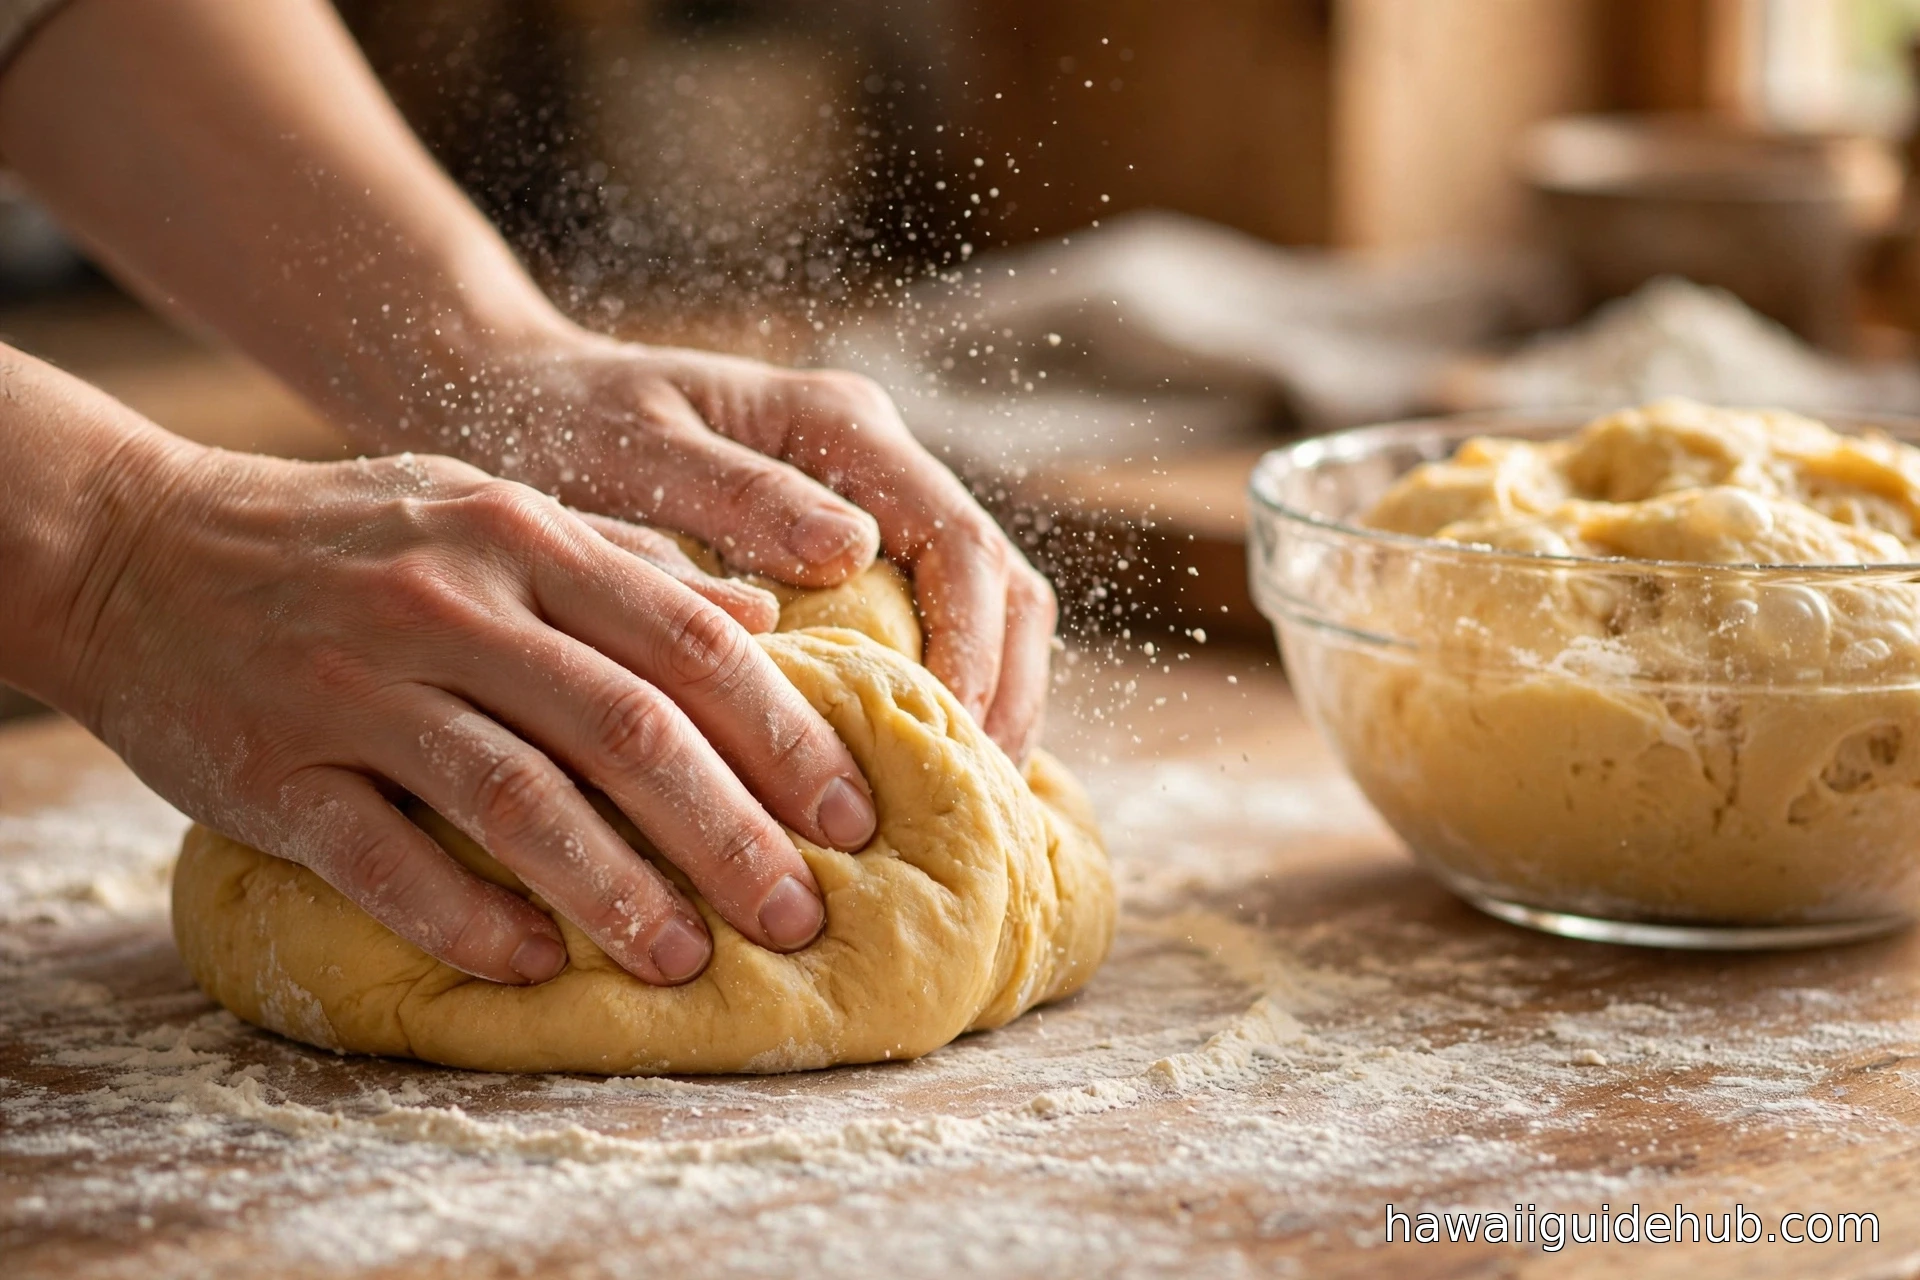
- Knead. Knead for 8 to 10 minutes, adding flour a tablespoon at a time only as needed to keep the dough from sticking. The dough should end up smooth, elastic, and slightly tacky but not sticky. This is an enriched dough, so it will feel softer and more extensible than a lean bread dough. That is correct.
- First rise. Shape the dough into a ball, place it in a lightly oiled bowl, and turn it once to coat. Cover with a damp towel or plastic wrap and let rise in a warm, draft-free spot for 1 to 1 1/2 hours, until doubled in size.
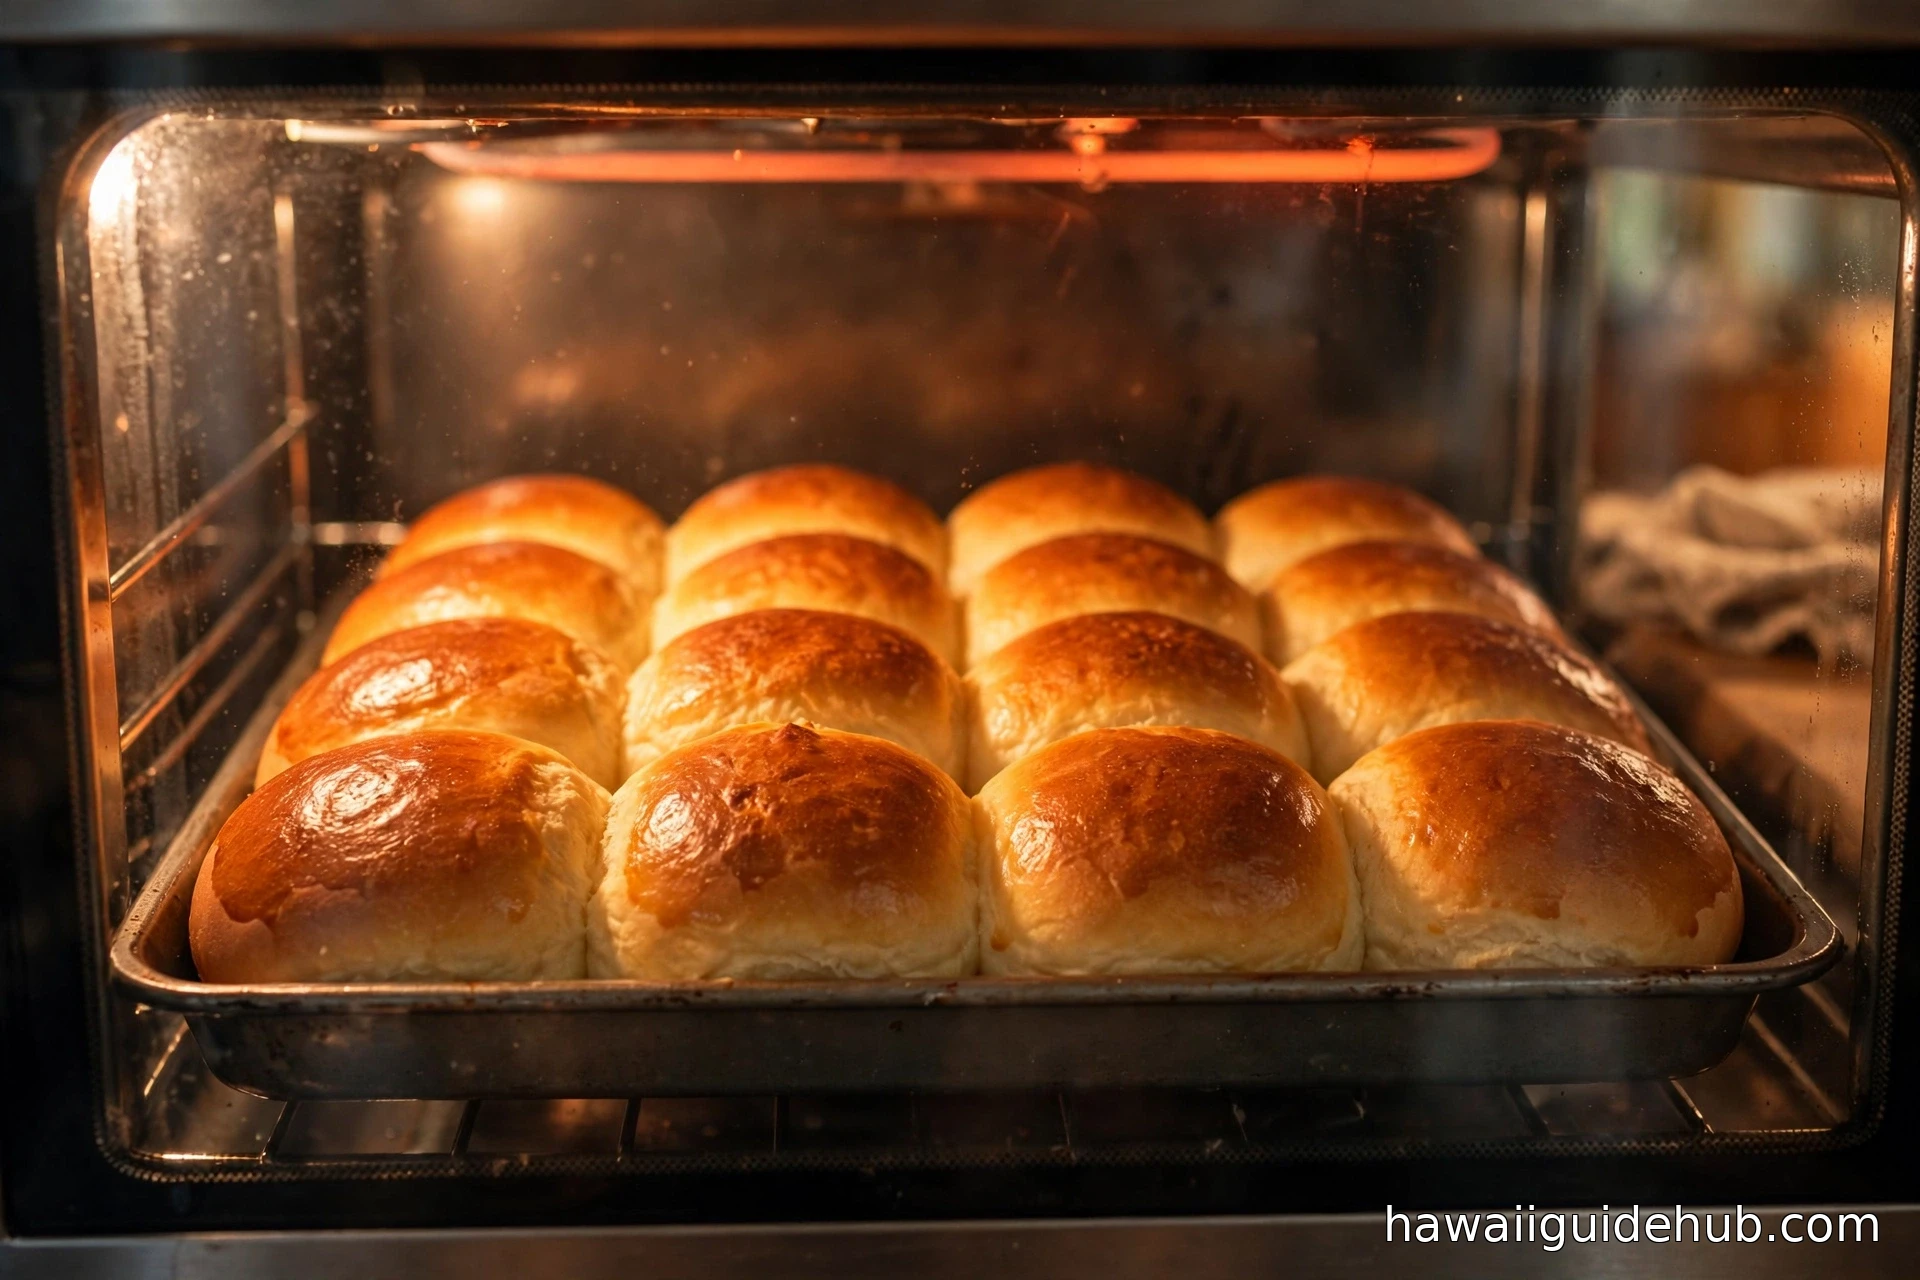
- Shape. Gently deflate the dough. For a round loaf, shape it into a tight ball and place it on a parchment-lined baking sheet or in a greased 9-inch round pan. For rolls, divide into 12 equal pieces, roll each into a smooth ball, and arrange them in a greased 9×13-inch pan.
- Second rise. Cover loosely and let rise again for about 45 minutes, until puffy and nearly doubled. Toward the end of the rise, heat the oven to 350°F.
- Egg wash and bake. Brush the tops gently with the egg wash. Bake the loaf for 25 to 30 minutes or the rolls for 18 to 22 minutes, until deeply golden brown and hollow-sounding when tapped on the bottom. If the tops brown too quickly, tent loosely with foil.
- Cool. Let the bread cool in the pan for 10 minutes, then turn out onto a wire rack. Resist cutting for at least 20 minutes; the crumb is still setting.
Tips for the Best Possible Loaf
Temperature is everything with enriched doughs. Ingredients at room temperature incorporate more evenly, and the milk must be warm but not hot. Think bathwater, not tea. Anything above about 120°F will kill the yeast outright, and there is no recovering from that.
Resist the urge to add too much flour during kneading. A slightly sticky dough bakes into a tender loaf; a stiff, flour-heavy dough bakes into a dense one. If the dough is unmanageable, let it rest for 10 minutes instead of reaching for the flour bin. The flour will continue hydrating during the rest, and the dough will become noticeably easier to handle.
The egg wash is not optional if you want that bakery shine. It gives the crust its deep mahogany color and subtle gloss. Brush it on gently so you do not deflate the risen dough, and make sure to get into the crevices between rolls without pooling.
For the softest possible rolls, brush the tops with melted butter the moment they come out of the oven. The butter soaks into the hot crust and keeps it thin and tender as the rolls cool. Cover the pan loosely with a clean towel while cooling to trap a little steam, which softens the crust further.
How to Serve It
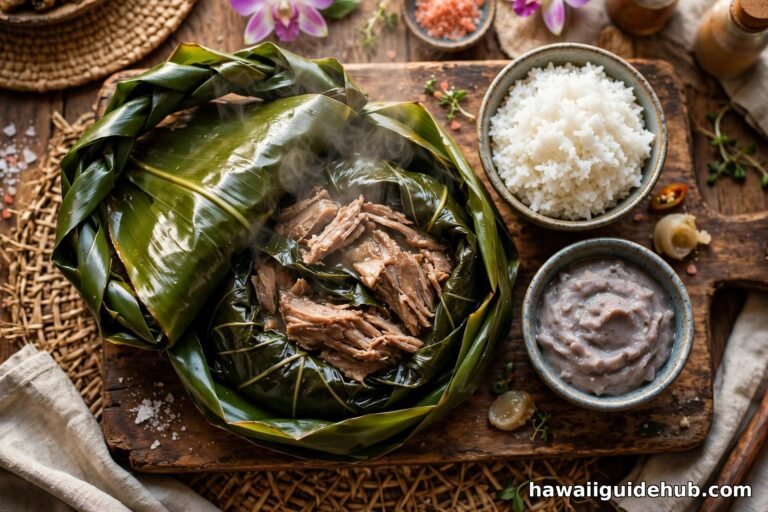
Fresh from the oven with nothing on it is the purist’s choice, and honestly, it needs no improvement. But Hawaiian sweet bread is a versatile player. Thick slices make extraordinary French toast, because the bread’s own sweetness means you can go light on the syrup. Cubed and dried, it becomes the base for a sweet-savory stuffing that shows up on Hawaii Thanksgiving tables. The rolls are the classic vehicle for sliders, especially with kalua pork or huli huli chicken, where the sweetness plays against smoky, savory meat.
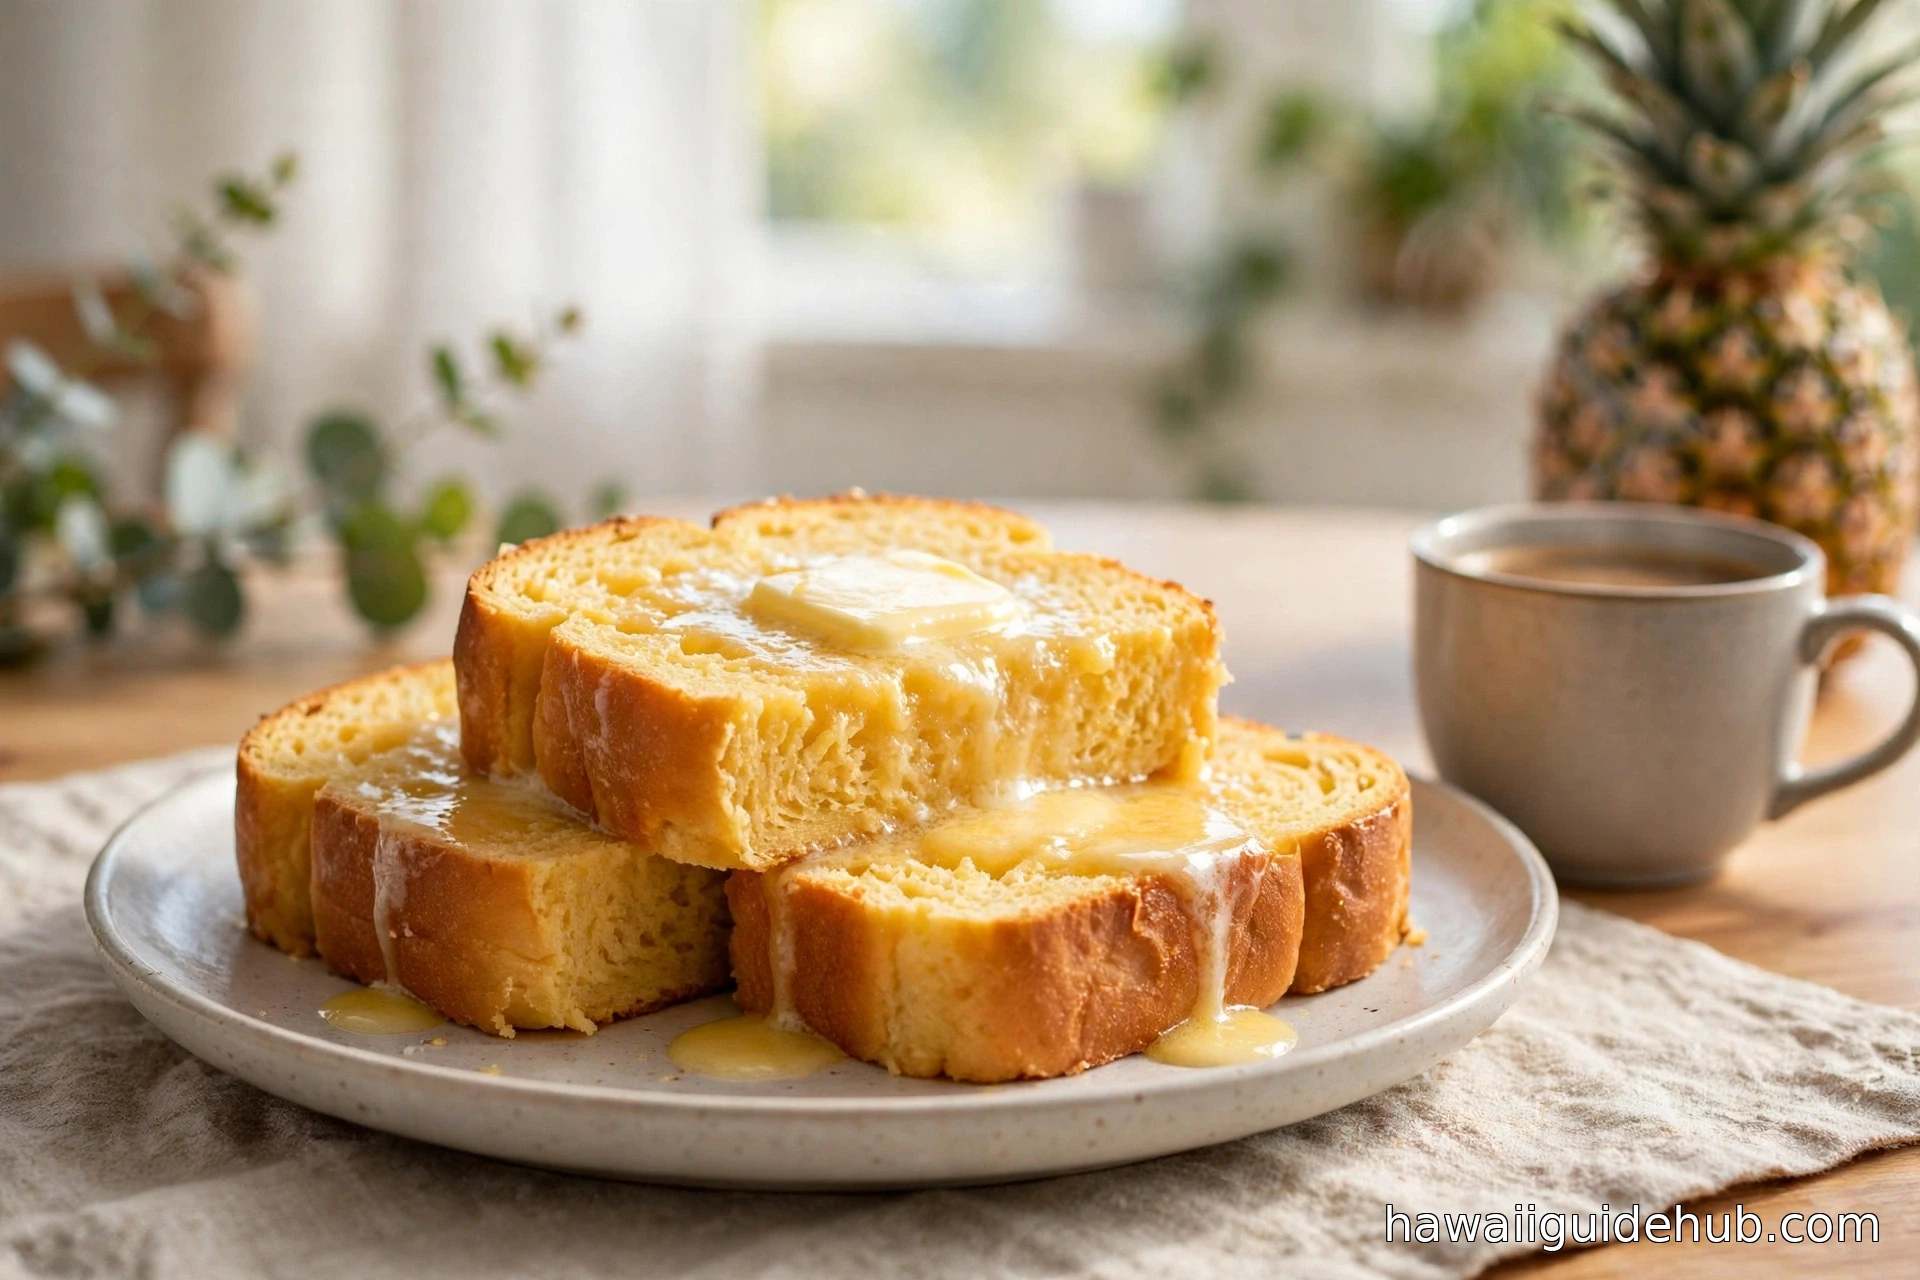
For a true taste of the islands at breakfast, serve warm slices alongside fresh tropical fruit. The native fruits of Hawaii deserve their own exploration, but even a simple plate of pineapple and papaya next to buttered sweet bread makes a morning feel like a vacation. And if you want to build a full island-inspired spread, our guide to must-try local dishes will point you toward what to serve next, from lomi-lomi salmon to plate lunch classics.
Storing and Freezing
Thanks to the enriched formula, this bread stays soft longer than lean loaves, but it is still best within two days. Store it at room temperature in a sealed bag or wrapped tightly in plastic. Do not refrigerate it; the cold accelerates staling.
For longer keeping, freeze the cooled loaf or rolls in a zip-top freezer bag with as much air pressed out as possible. It keeps well for up to three months. Thaw at room temperature, then warm in a 300°F oven for about 10 minutes to bring back the fresh-baked softness. Day-old bread that has gone slightly firm makes excellent French toast or bread pudding, arguably better than fresh, since the drier crumb soaks up custard more readily.
Watch: Sweet Hawaiian Bread Rolls from Scratch
Seeing the dough come together helps more than any written description. This video walks through a pineapple-juice sweet roll recipe from mixing to the finished golden pan:
A Loaf Worth the Wait
There is something satisfying about baking a bread with a real history behind it. Every time you brush egg wash over a rising loaf of Hawaiian sweet bread, you are repeating a gesture that connects Azorean plantation workers, a determined young baker in Hilo, and millions of holiday tables across America. The ingredients are humble. The method is forgiving. And the result, a golden loaf that smells like butter and honey and the tropics, is one of the most universally loved breads ever to come out of the Pacific.
Bake it once for the novelty. Then bake it again, because the first loaf never survives the weekend. That has been the pattern since 1950, and there is no reason to think it will change now.